I made a previous blog and video that focused on the basic construction on how to build a workbench for under $100. If you haven’t seen Part 1 yet, you can check that out by clicking here. This is Part 2 and focuses on how I finished it off by adding bench dog holes, a bottom shelf for storage, wheels, as well as a couple different colored stains and finish.

I’ll just start by saying, I love this workbench. I am making this video and writing this post a couple months post-completion, and I use this thing daily and it’s already getting some serious wear and tear. It’s a perfect assembly table, and that added storage underneath has been a great place for those mid-sized tools that didn’t have a permanent home in my shop previously. But let’s get to the modifications I actually made.
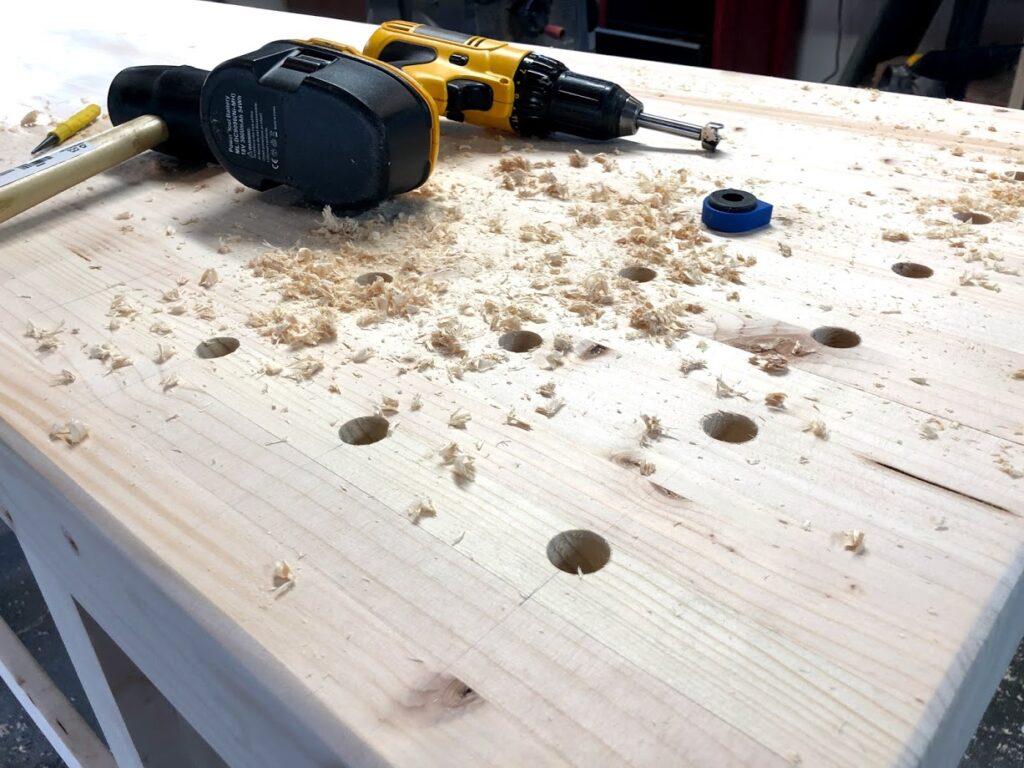
I started with the bench dog holes. Now, I’ve never had a workbench with holes like this before. But I’ve seen them put to use in videos with various bench dogs and toggle clamps, so it seemed like a good idea. Plus, they just look cool. You wanna be a woodworker, you better look like a woodworker. So, I looked at some pics of various workbenches on the interwebs, and I decided on a layout that made sense in my mind. I drew them out on the benchtop in straight lines. Once done, I used a hole punch to give my drill bit a guide so it wouldn’t slip. Then I used my 3/4″ forstner bit to drill the holes. I’m told there’s some kind of a fancy jig you can use to make sure you drill your holes perfectly straight and level. I just eye-balled it. And you can tell. But I’m fine with them being a little crooked, as I’m only planning on using them to put stop blocks in or toggle clamps to lock down a piece. Doesn’t have to be perfect. Maybe my next workbench, right?

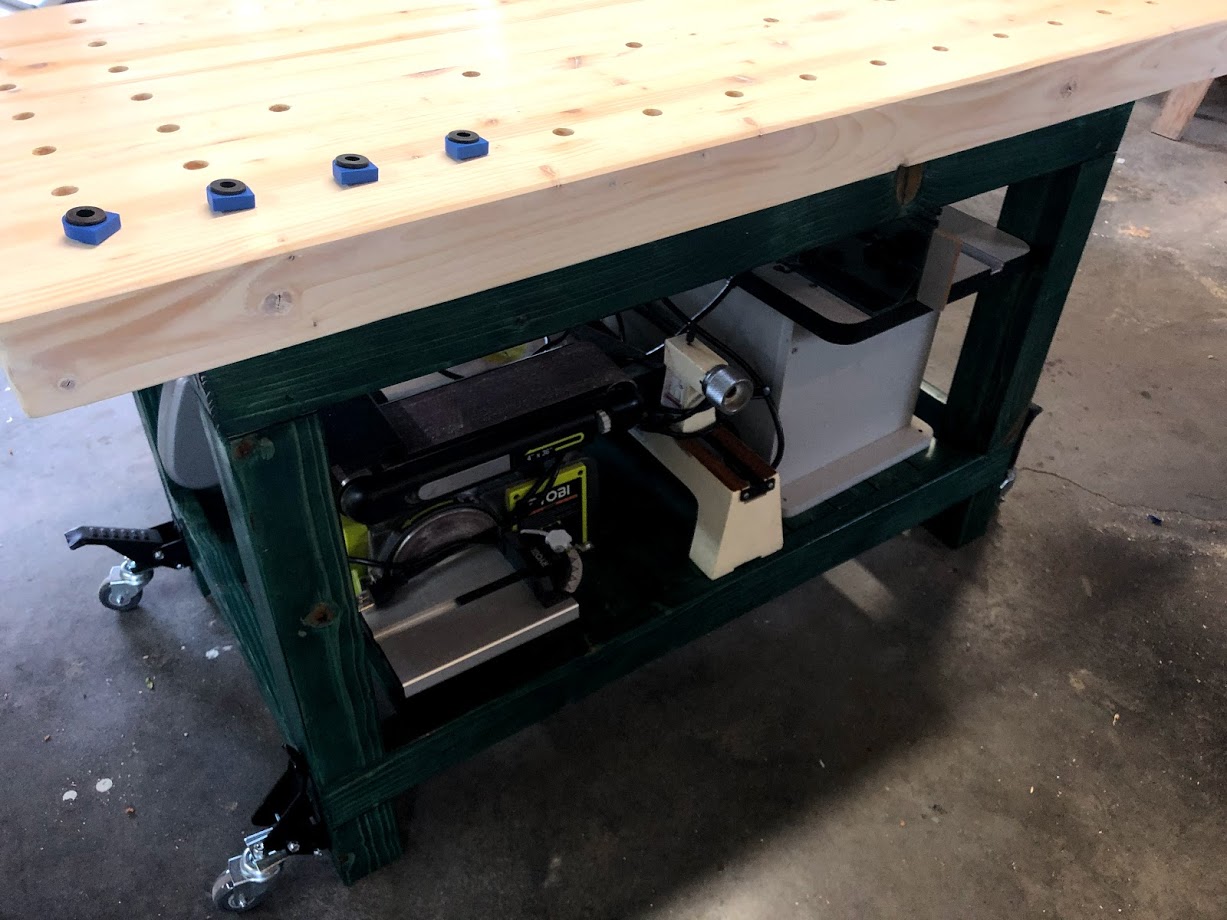
This would be a giant waste of space to have the underneath of this massive workbench just be legs. So I decided to add a platform to store some of my medium-sized tools, such as my lathe, router table, benchtop sander, and scrollsaw. I simply screwed in some ripped-down 2×4’s into the leg runners that are about 6” from the floor. I lowered them ¾” of an inch below the runners so that my 1×4’s would sit flush. Then I cut all the 1×4’s to length and glued them down in place. No need to screw them in since they will likely always have plenty of weight on them.
To add just a touch of finer finishing, I filled my screw holes with dowels and wood glue. Once dry, I sawed them off with a pull saw and then sanded flush. Pretty simple, but it’s a nice finish that’s easy on the eyes.
One thing I wanted to make sure I did with this workbench was to make it mobile! I looked into basic caster wheels, but then I stumbled across an Instagram video where someone had these wheels with stomp pedals that would actually lift your table or bench off the ground for you to roll it. Then you could just set it back down and it would be solid. I loved this option, since even on casters with locks there always seems to be just a bit of a wobble if you get to pushing on work pieces enough. A quick Amazon search later and I found them for $50. Kinda pricy, but well worth it. Install was easy, and they work as advertised. My bench is able to sit flat on the floor, and when I want to move it I just stomp down on the pedals. And this bench weighs close to 300 pounds by my math, and it rolls around as if it were less than 50. I really do highly recommend these if you’re building a bench or other heavy shop furniture. See the link below if you’re interested in grabbing yourself a set.
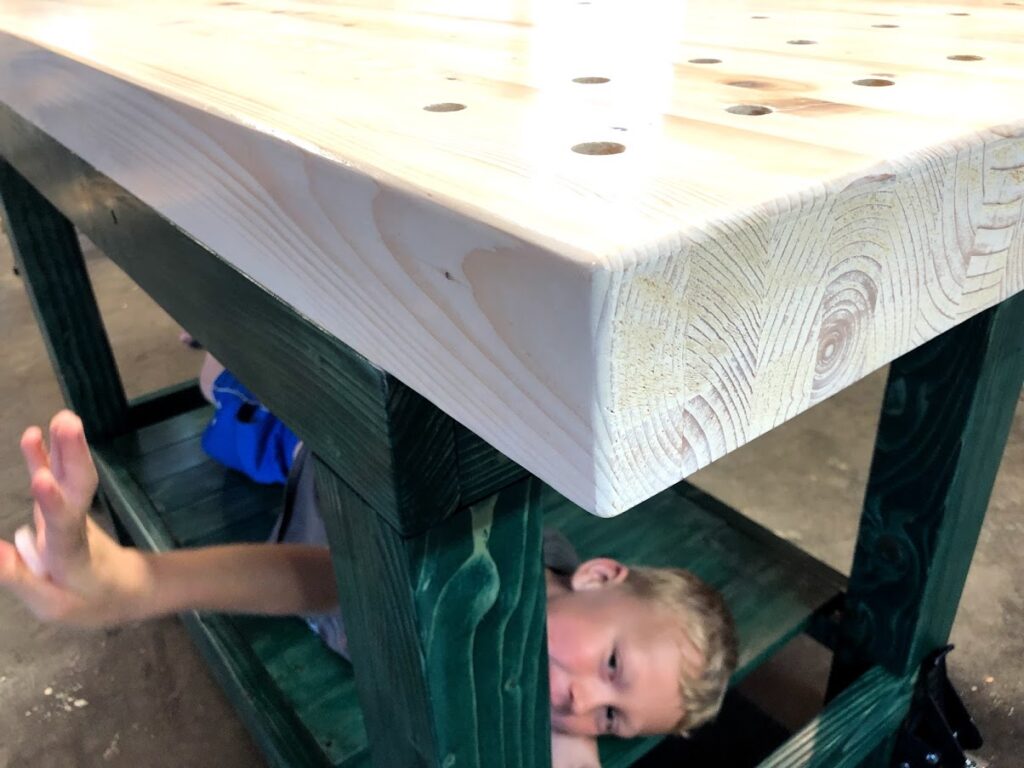
I knew I didn’t want to leave it just the pine color, or even a darker wood stain. I wanted color! But not paint, as I wanted the wood grain to still show through. So I added some with Minwax tintable stain, and I chose the forest green color. Green is probably my favorite color, and I think I heard once it’s supposed to breed creativity. For the top, I went with an antique white, also by Minwax. This stuff had the desired effect, but after only one coat it was really not that noticeable. I ended up doing three coats to get it white enough, and by the third coat it was getting almost thick and I was pretty much wiping it off as soon as I was painting it on. But I am really happy with how it turned out. For final finishing, I added Minwax semi-gloss polyurethane. I did three coats, and I realize it’s not likely to hold up, but it’s a workbench. Who cares?
And that’s really the theme here. I built it to use it. I know this thing is going to get gouged, scraped, discolored, marked on, glued, scuffed, and downright battered. But that’s the whole point. It looked great for about a week! And as of this writing, it’s already looking quite well-worn, and it’s covered in sawdust and half-built projects. Here’s to hoping it will be the backdrop to many a project for years to come!
Items used:
Caster wheels
5 minute epoxy
Minwax tintable stain – forest green color
Minwax Antique White stain
Minwax Semi-gloss Polyeruthane
2×4’s
1×4’s
Cheers!
Grant


