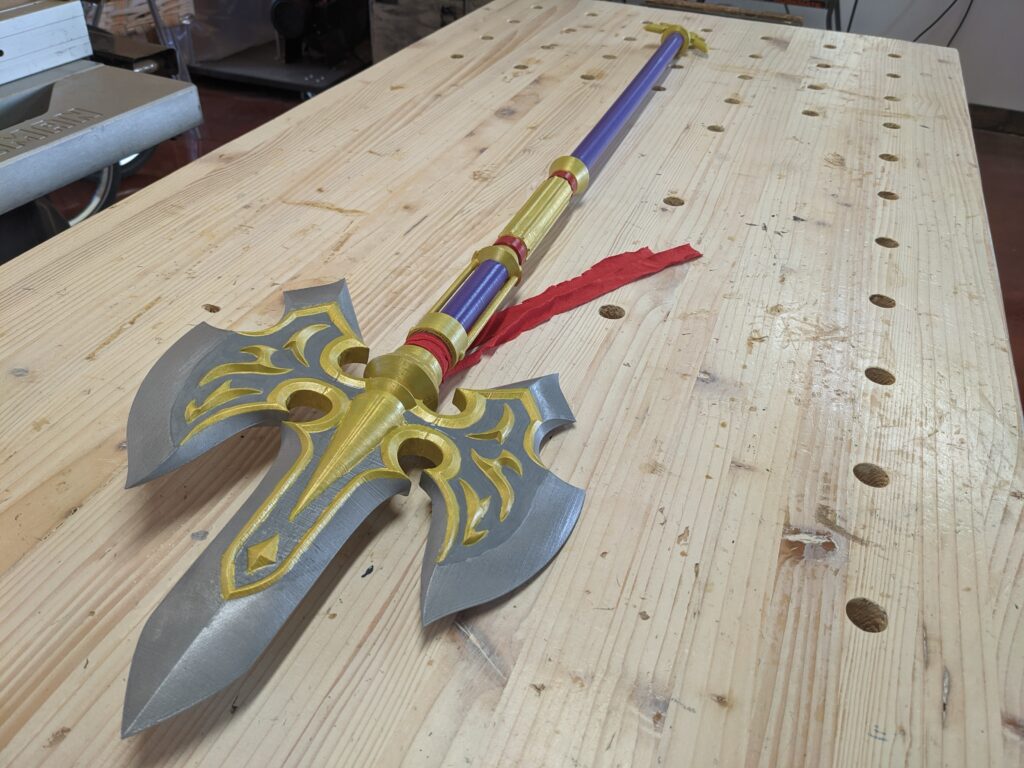
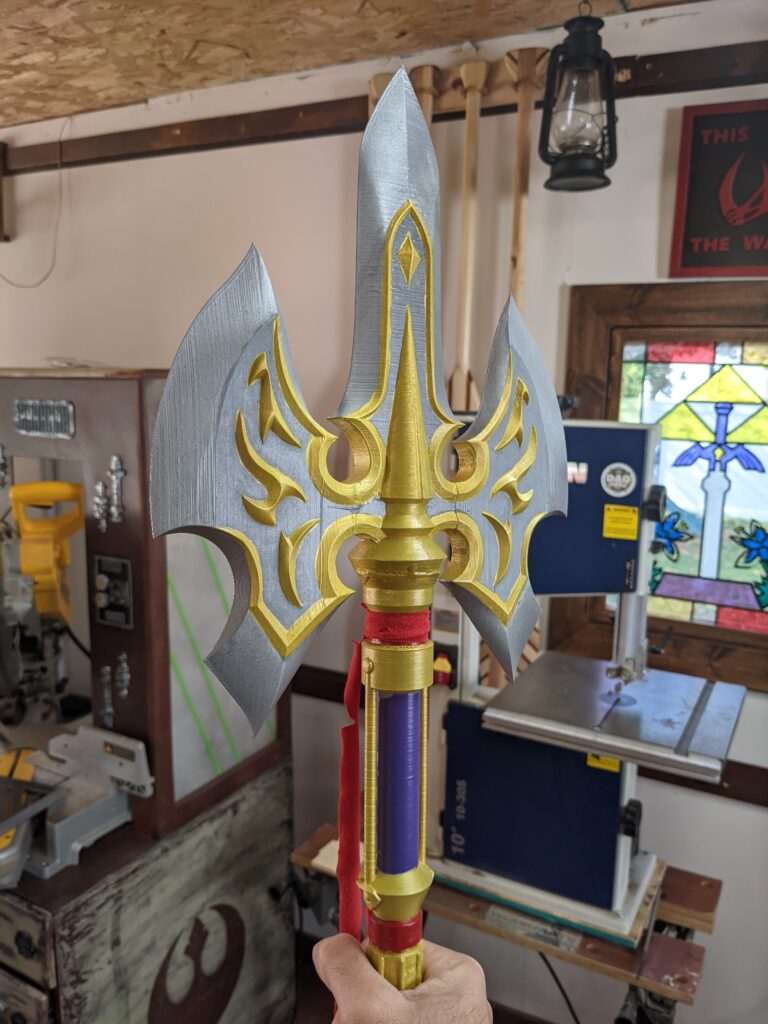
I wanted to make a cool weapon from The Legend of Zelda Breath of the Wild. So, I found some awesome files to 3D print, assemble, and paint up and made this kid-sized Royal Halberd. Not the best weapon in the game, but one of the best looking. Please enjoy me fumbling my way through the first time I’ve ever tried to make something like this.
The Prints
I found the files on Thingiverse, and here’s the link.
I printed this at 70% to get it to fit on my Ender 3 printer, and to be a bit more kid sized. This thing’s is a beautiful print, and the author has some other awesome weapons out there that I plan to make. I’m probably going to make another version of this one so I can do the Royal Guard’s Spear, which is essentially the same thing but with a different paint job. But when I do this again I will definitely up the infill on the two handle pieces (if you make it all the way to the end of the video you’ll see why).
The Glue Up
I went through several different rounds of gluing and various epoxies, and I think I’ve settled on JB Weld’s 60 second epoxy being the best. The main reason is because it has a reusable cap so you can do several rounds of gluing, and this weapon will require several rounds of gluing. The problem with the first few epoxies I bought were that they had those thin tips that mix the two liquids together as you push it through, but the problem is it all solidifies by the time you’re done with your first bond. Also, I tried to add some DAP 30 second rapid fuse with the epoxy since it was a 15-minute cure, and that was a bad idea. Science apparently won out and the two glues together didn’t like each other. Nothing stuck together. Don’t do that.
Sanding
I just did a bunch of filing and sanding. It’s boring and tedious, but you gotta do it. I should have done more as I left too much resin on the joints and they show (see the thumbnail). Next time I’ll spend more time on this.
Priming, painting, and finishing
I bought filler primer from the local automotive store hoping it would do a better job of filling in the 3D print lines. It didn’t. You really need to do a Bondo here if you want the lines to not be visible at all. With this spear, I think it kind of looks cool on the blades, so I don’t mind it at all. But basically, there was no difference in the filler primer from normal primer that’s half the price. I spray painted the purple and the silver blades after taping, and all the other colors were hand-painted with acrylic. I used semi-gloss spray polyurethane to finish. One note here, I would do the silver blades after the poly, as it really took a lot of the sheen off and it doesn’t look nearly as good. So I’d do all the hand painting and poly first, then tape and spray that metallic spray paint last. Seems weird but if you do a good job taping it’ll look way better.
The final thing to do was tying some red cloth strips around the neck of the spear. I just cut a couple strips off an old red t-shirt and tied a quick knot.
And there you go. Again, if you made it to the end of the video, you’ll know the durability. It’s a concern. We’ll try to make a stronger version, but it’s likely that this will just end up as a display prop for the boys’ bedroom, which they are demanding to be a Legend of Zelda theme. And that’s probably for the best, as I did fear for their safety if they were swinging these blades around at each other. I know they’re plastic, but man do they seem sharp!
Thanks for watching and reading!
Cheers!
Grant