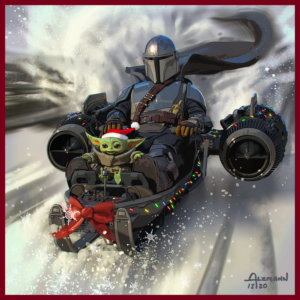
The moment I saw the Star Wars Holiday card tweeted out last December I knew I had to try to make the epic Razor Crest sled that was depicted. And since my brother has a giant sledding hill on his property and snow was imminent, I knew I had to get to work right away! I took a basic old plastic sled and started slapping it together with scrap wood, five-gallon buckets, Tupperware, and some 3D printed parts for added decoration. We even added some Christmas lights for a few runs down the hill! I hope you enjoy and please consider subscribing to the youtube channel! Let’s go!!!
Step 1: Add to the sled
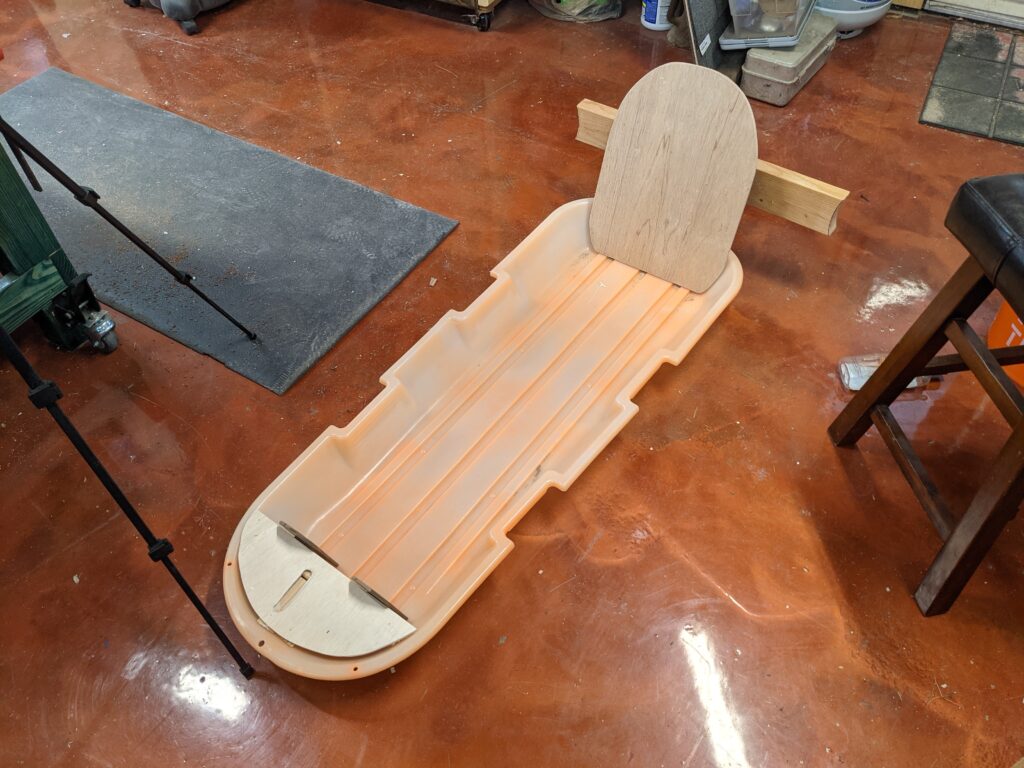
Luckily, my brother had several, so we grabbed an old orange one and got to work. I quickly had to figure out how to attach the back seat rest, turbines, and front control panel. The best way seemed to cut some scrap 2×4 at an angle on one side and straight on the other. These formed some blocks that I was able to screw onto the sled with large washers on the plastic side to keep the plastic from cracking apart.
Step 2: Form the back
I attached a piece of plywood straight up the back that was about 15″ tall. Then I cut out the seat out of 1/4″ plywood and used some shims where it met that backer plywood to account for the seat angle. I used a 2×4 across the back that would be the rail to attach the turbines to. I used the five-gallon bucket bottom on top of the board to outline the curve that would be needed in each end of the 2×4 to later attach the buckets.
Step 3: The front panel
After making a couple extra 2×4 angled scraps that went the width of the slide, along with a couple more that connected to the very front, I screwed all of those in with screws and washers. Then I outlined the front of the sled on a piece of 1/4″ plywood and cut it out on the bandsaw. I fit it over top of my scraps, but before gluing and brad-nailing i drew an elongated oval shape where the shifter would eventually go. I also threw in a couple shims behind the foot rests that I used hardboard to cut out on the bandsaw and glue and nail in place.
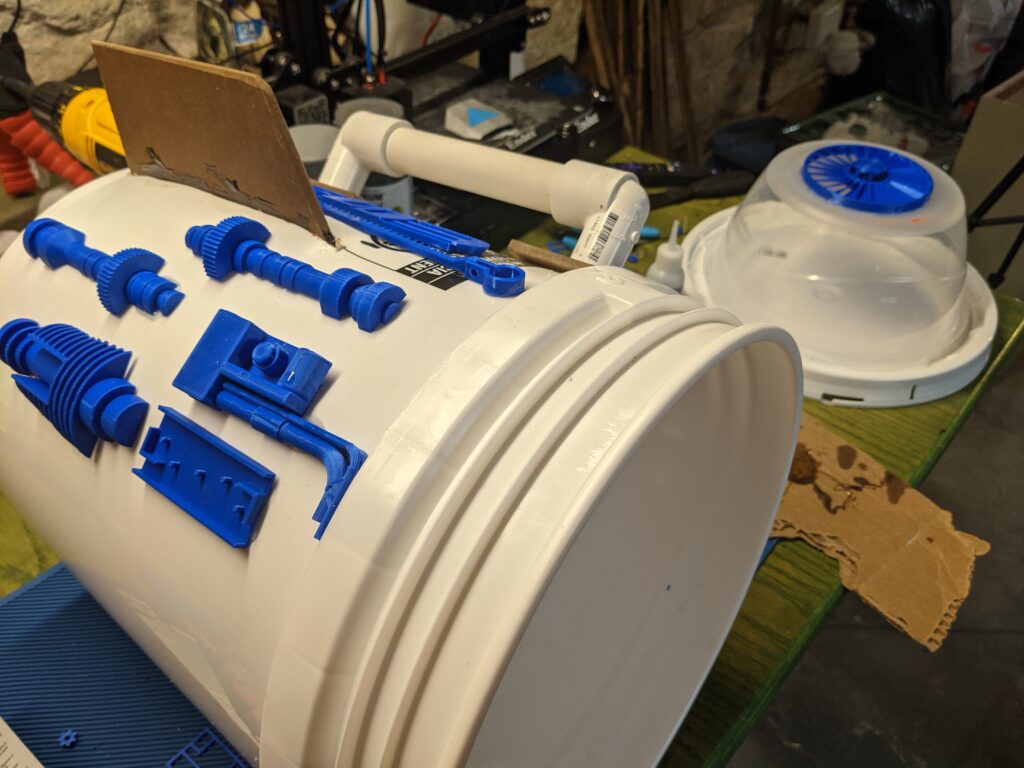
Step 4: The turbines
I used 5-gallon buckets for the body. Tupperware bowls for the front. Empty filament spools for the backs. I used 1/4″ hardboard that I cut out on the bandsaw to act as the fins on top of the turbines, and I used some PVC pipe to act as some tubing. And then I decked them out by epoxying on various 3D printed greeblies that I linked below. The main aesthetic was the fronts, where I found a 3D printed turbine fan fidget spinner which I sized up to fit the bottom of the Tupperware bowl (sorry, but the fans don’t spin after sizing them up).
Step 5: The handles
I cut out some scrap 1x4s to form the handles. And these server no function whatsoever. Trying to steer with these will put you into a tree faster than you can say “Kessel Run”. But they were on the holiday card so we thought we had to add them here. They would eventually get screwed into a couple side rails that were made from ripped down 2x4s.
Step 6: Primer and paint
This was mostly spray paint. Everything got a coat of primer. Then nearly everything got a coat of gloss dark gray, with the exception of Grogu’s shifter knob which got metallic silver. There were also a couple decorative buttons on the front panel that I painted red and white. I then added some weathering by brushing on black acrylic paint to various parts of the turbines and the handles.
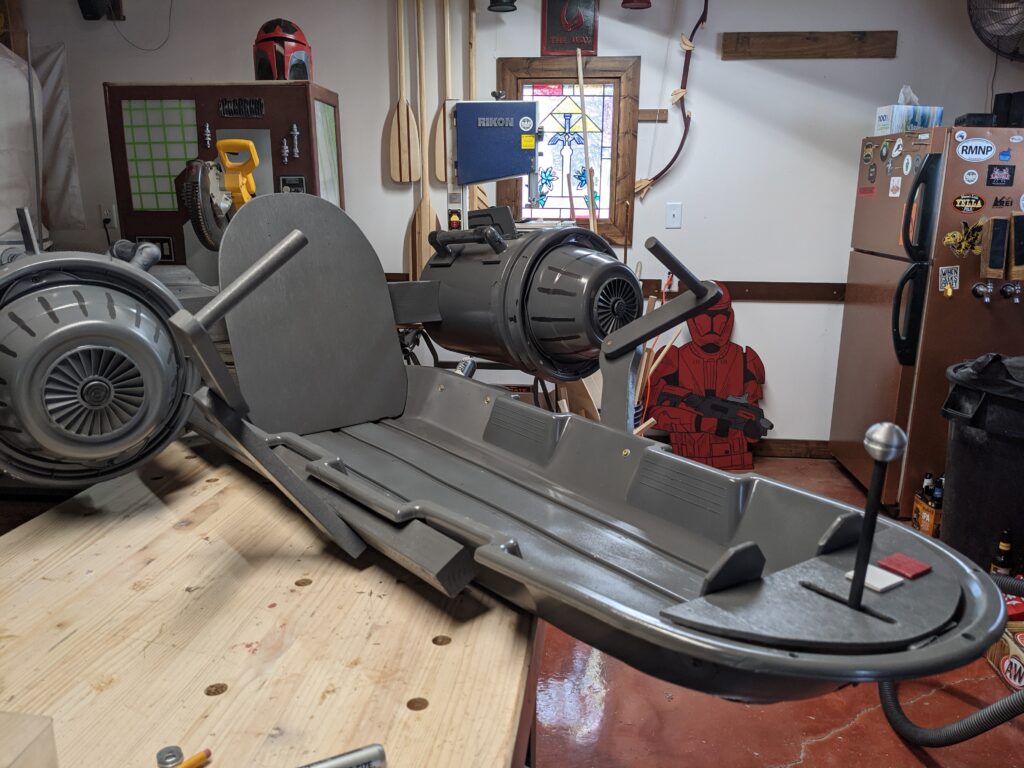
Step 7: Final assembly
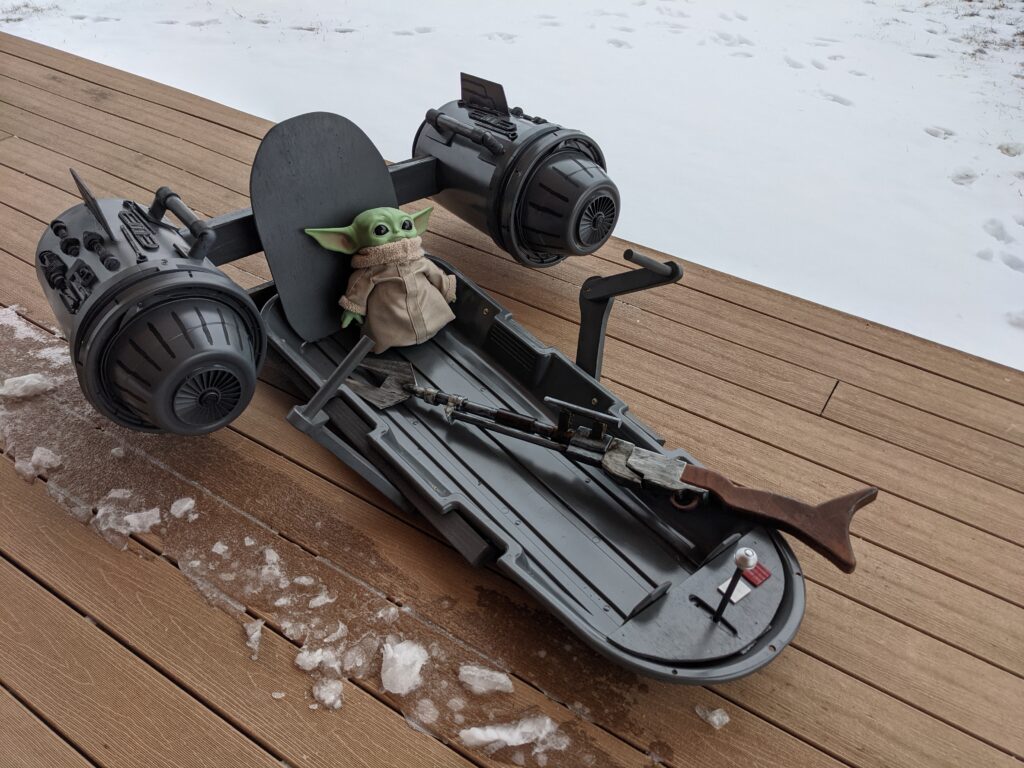
This involved screwing on the side rails and attaching the arms. And then attaching the fronts on the turbines, which was supposed to be easily snapping on the 5-gallon bucket lids, but that was harder than expected due to the layers of primer and paint. And then gluing on the panel buttons and shifter knob. The final product looked glorious!!!
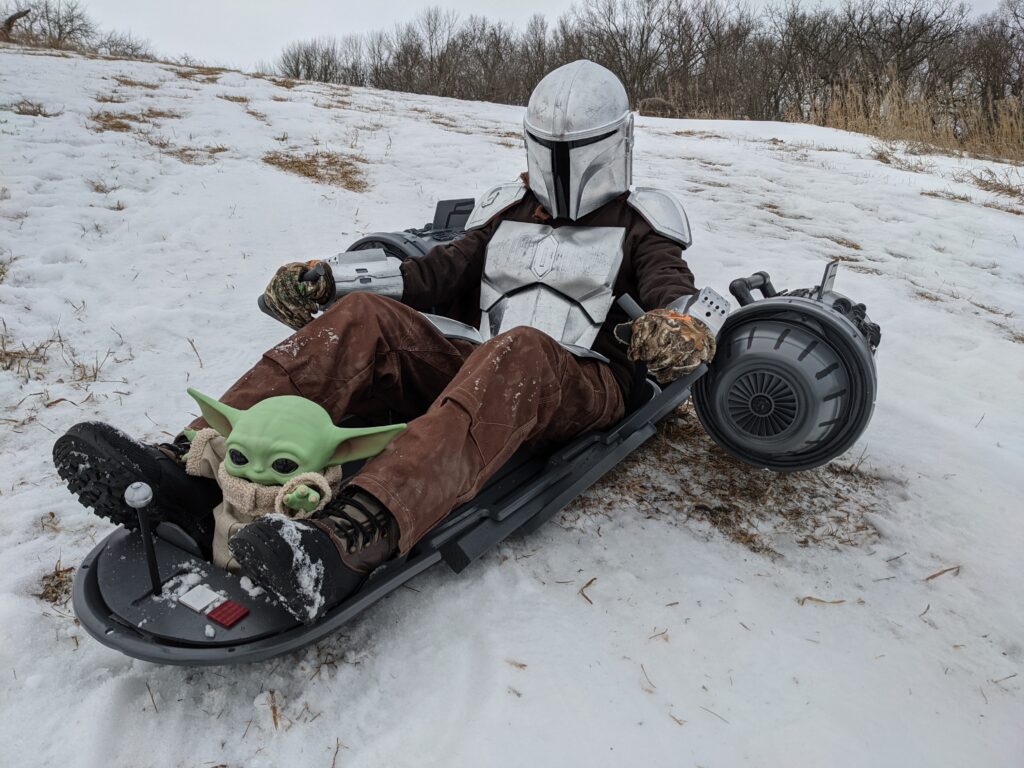
And that was it! Then it was downhill time, which you have to watch the video to see! And there may even be a part 2 coming soon, which will be a vlog-style vid showing all the behind the scenes stuff and practice runs and crashes going down the hill!
And I would like to call out that I know I could have made this better! But it was really hard to devote too much time to something that I knew would likely be destroyed on the first downhill run. Luckily for us, we got several runs out of it. It isn’t really visible in the video, but this thing began to fall apart piece by piece with each run (kinda like Mando’s Razor crest in the show!). In fact, one of the after-burners didn’t even make it to the top of the hill for the first run! But you just never know, as I thought the side afterburners were going to be the first things to snap off in a blaze of glory! But both of them survived every single run down the hill that we made. hopefully there will be many more downhill runs to come!
Thanks so much for reading and watching! This was a super-fun project to make and see the kids (and big kids) enjoy out on the hill! I hope this leaves you inspired to make something awesome! Until next time!
Cheers!
Grant