The greatest game of my youth was The Legend of Zelda on the original NES system, and really it wasn’t close. One could make an argument for Mariokart, Super Mario 3, Tecmo Bowl, and possibly Mike Tyson’s Punchout. But for me The Legend of Zelda was it. I was always into swords, magic, epic quests. You know, nerd stuff. And Zelda had all of that in spades. It was an open game where you could roam around, level up with cool swords, boomerangs, and shields. Well we were late to the party with playing Breath of the Wild, but oh my god this game. It brought me back to my youth and the boys and I have spent countless hours wandering the fields and mountains of Hyrule in search of epic quests and the finest weapons. And the finest shield is the Hylian Shield. Or as the game articulates:
A shield passed down through the Hyrulean royal family, along with the legend of the hero who wielded it. Its defensive capabilities and durability outshine all other shields.
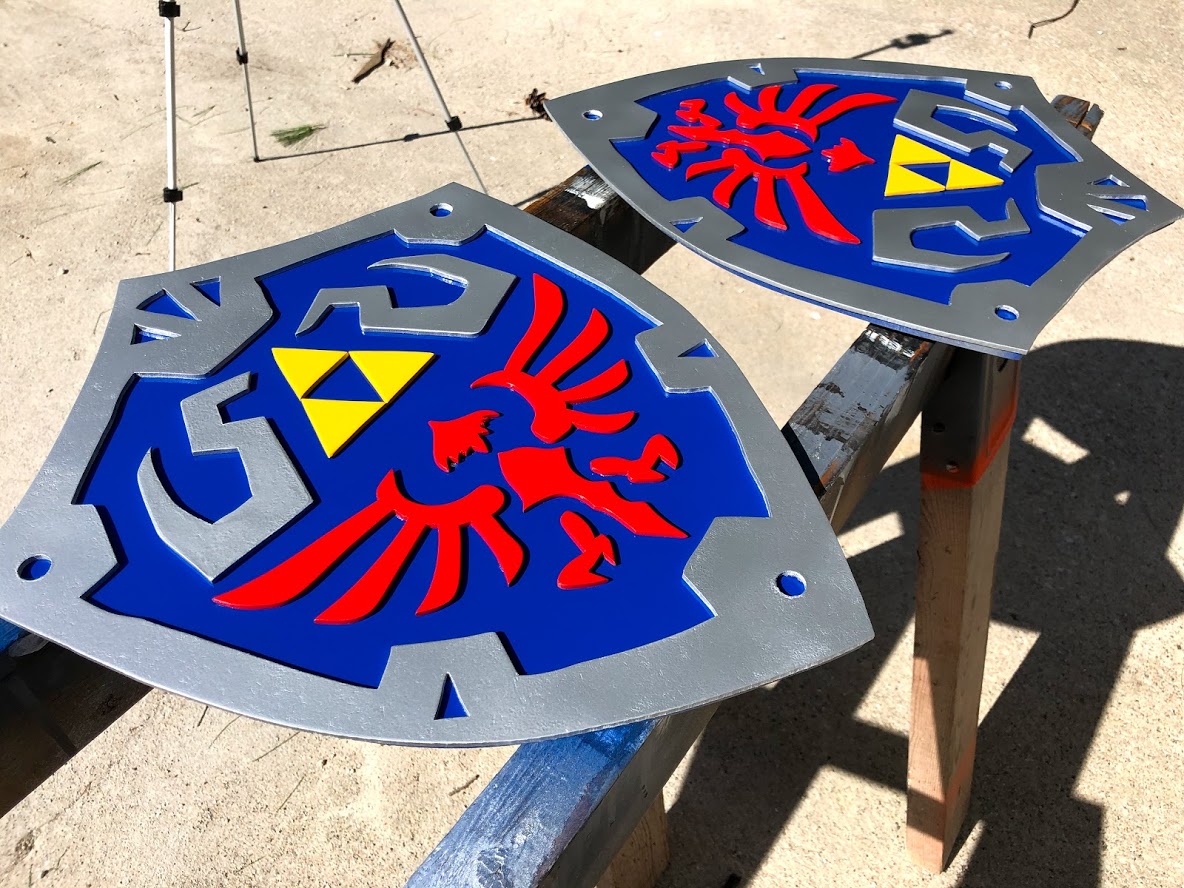
Hell yeah. So I had to make one. And since I have twin boys, I had to make two. I offered up making other shields from the game for either of them, but nope. They wanted the finest shield out there.

This is basically a scrollsaw project. I used the bandsaw a bit for the big cuts, but you can certainly do this entire thing on a scrollsaw. I have a cheap Ryobi and it cuts great, especially when it comes to the hardboard I used. I used 1/4″ hardboard for the main shield body and the backer pieces that the straps connect to. And I used 1/8″ hardboard for all the decorative pieces.
For the stencil, I simply found an image on google images that was black and white with all the outlines. Then I opened that in paint and selected print, but I clicked ‘More settings’ and selected 4 on the ‘Pages per sheet’ dropdown. This prints the image large scale on four sheets of paper and I found that size perfect. It almost matched the dimensions of the toy shield I looked up on Amazon. To attach the stencil, I placed contact paper on the hardboard and then sprayed it with 3M spray adhesive and laid the stencil on it. Then, since I was making two shields, I covered another piece of the hardboard with contact paper, along with the back side of my original piece, and I spray adhered those two together. That way, cutting out the stencil would give we doubles of everything.
For the backer of the shields, I cut our the outside shape of the stencil first, and then used that piece to trace the shape of the shield twice onto the 1/4″ hardboard. You could do the same spray trick here, but since this was just the outside of the shield without all the detail I just drew it on twice and cut it out quickly on the bandsaw. I cut just a bit inside the lines so the the base of the shield would be a bit smaller, as I wanted the silver outer edge to overlap by about 1/16 around the outside of the shield. Then there was a whole bunch of scrolling. See the above video.
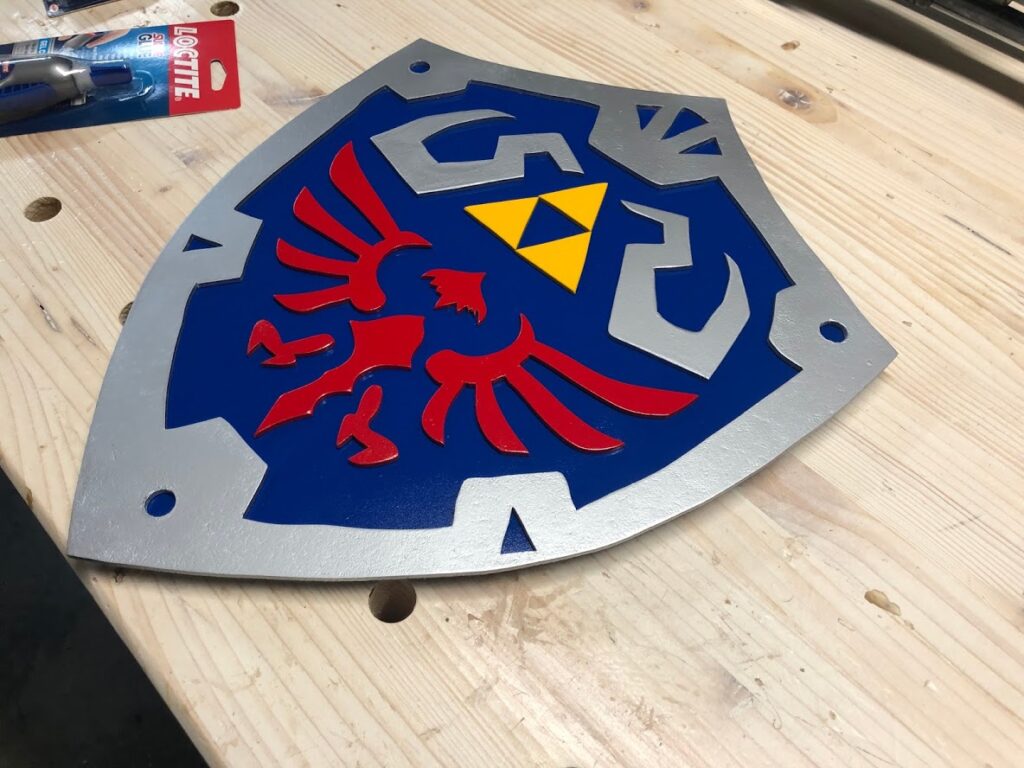
Once cut, there was a bunch more sanding. Then priming. More sanding. Spray painting. And finally a glueup. I used Loctite Gelbond glue to glue all the pieces. I just laid it all out dry where I wanted everything to go and then picked up and glued one piece at a time.
For the straps, I used some leather straps I had from a previous project. I glued and stapled them with 1/2″ staples. I doubt these hold but we’ll see how it goes. In fact, I doubt the decorative pieces hold either, at least once the boys start whacking the shields with the Master Sword. But that’s about it. I hope you watch and enjoy the video!
Cheers!
Grant