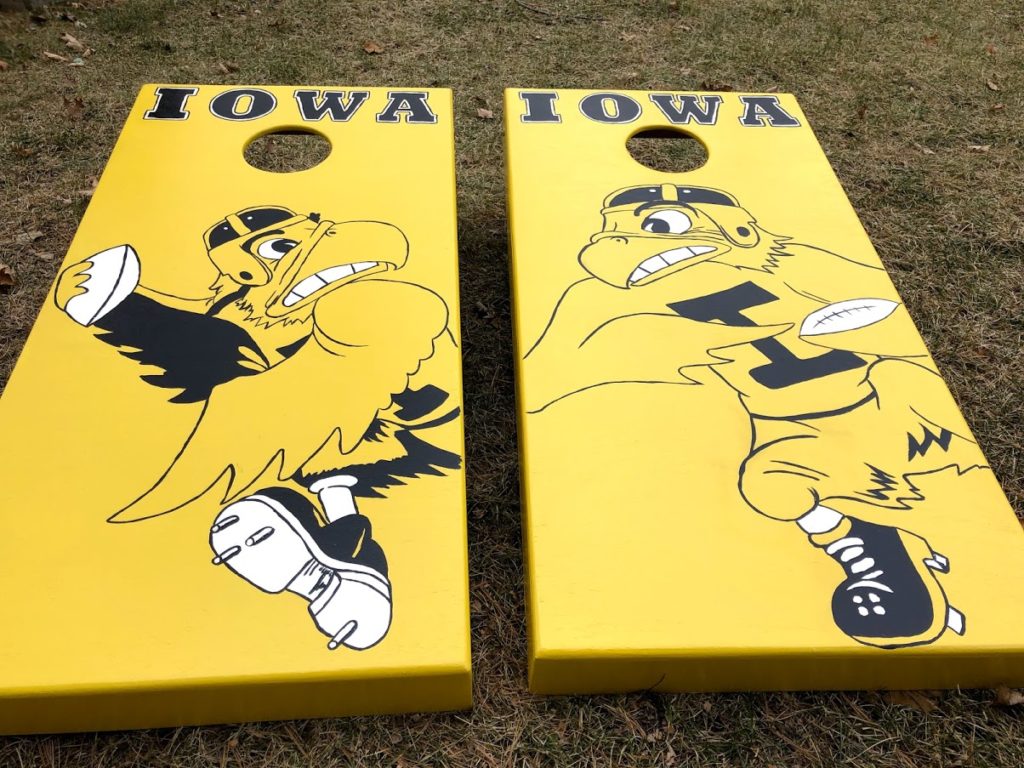
So this was a last minute deal where through word of mouth someone found out I might make custom cornhole boards. Funny that I just said in my first vlog that I might do a set of these in the spring, but when offered the chance I figured, why not? It’s not as if I didn’t have five other projects going on, along with getting the house ready for family coming for Christmas. But anyway…
The boxes are made from ½” plywood for the base, and then 1×4’s for the skirt and legs. If you go to Home Depot they will cut the big sheets of plywood for you. So if you want to make a couple sets, get the 8’ x 4’ sheet of ½” plywood and ask them to cut it into 2’ sections. That saves you the hassle of loading a big sheet and trying to cut it down yourself at home. Big time-saver.
For the skirts, I just did a 45-degree miter joint, and wood glued and brad nailed it together. I’ve done some dove tail joints in the past, but since I knew they wanted these painted I didn’t need to get too fancy with the joints. The wood glue and brads will hold things together just fine. For the hole, I intended to use a hole saw, but I was missing the drill bit and had to get a new one. I bought a new one and made the mistake of getting one that was too short. As you’ll see in the video, it’s very important that the bit be longer than the depth of the hole saw. I avoided disaster by lots of sanding after I eyeball-cut the holes with a router. Again, if these weren’t painted I would have started over. But putty, primer, and paint can cover a lot of mistakes.
For the legs, I used a compass to round over the tops so they will rotate and fold open. I made the cuts with the bandsaw, and then drilled a hole in center. I just use bolts, washers, and wing nuts and hand tighten to secure them. The simplest way to make your angled cut on the legs is to stack some boards to rest the top of the box on. Once you have it set at 12” from floor to top of board, swing the leg out so that it overhangs the side of a table/workbench. Then draw a line on the leg even with the table. That’s your cut line.
When I make boxes, I always do the artwork myself by hand. Someday maybe I’ll get a fancy CNC and be able to recreate these quickly and easily, but for now it’s all hand-drawing and hand-painting. For these I just primed them and painted them with yellow house paint (matte finish). Then I drew on the designs in pencil, and then painted everything with acrylic paint you can find at your local Michael’s store. For finish, I use semi-gloss, oil-based polyurethane. I did three coats and did a light sand and wipe down before the last coat. I didn’t sand after the last coat, as I don’t want them too slick. Can’t have your bags just sliding right off the board on every toss!
I got these knocked out in a week, in the midst of doing a half-dozen other projects. It was a good challenge and a nice reminder of how productive I can be when I set my mind to it. If you like what you see, let me know! Or if you see how I could have done things better or easier, I’d appreciate the feedback!
