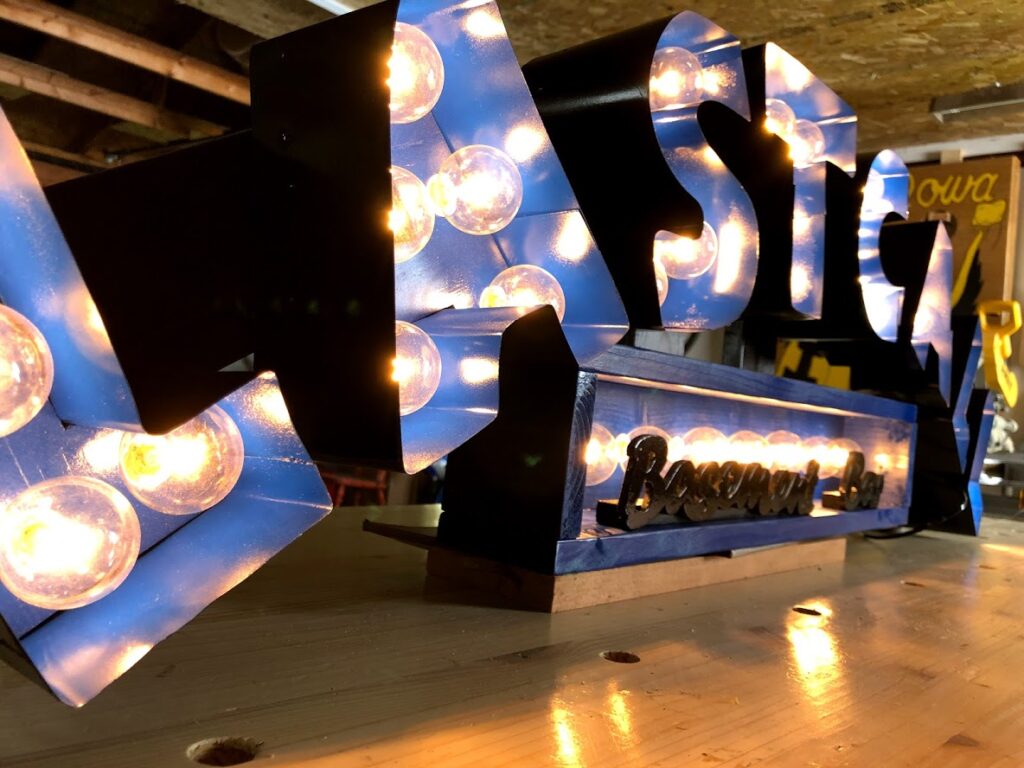
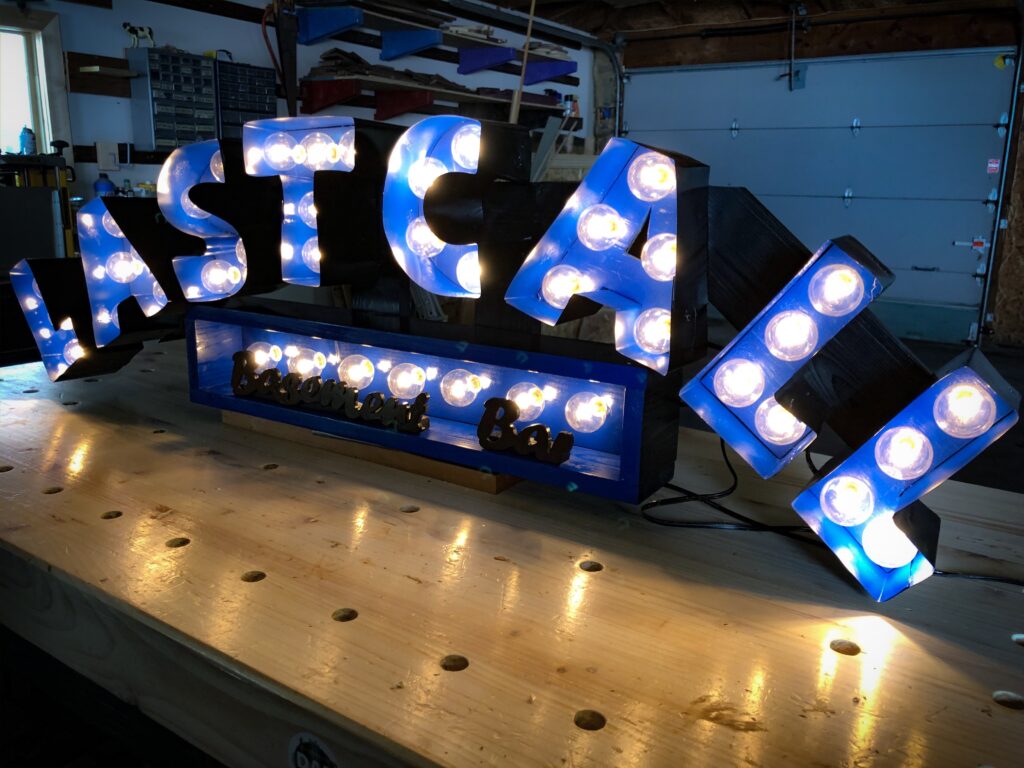
Here’s how I made a basement bar marquee sign for a friend of mine using plywood, aluminum flashing, pine 1×4’s, ¼” hardboard, spray primer and paint, and some globe lights purchased from a big box store. My friend requested only that it say “Last Call Basement Bar” and let me run with the design. I drew inspiration from the great Jimmy Diresta and his Bulleit Bourbon signs that he’s made in the past. I decided to make the “Last Call” portion big and blocky, and then the “Basement Bar” portion in smaller cursive font boxed in beneath.
Designing the letters
I found a font I liked in Word, and then printed them off in a size that seemed big enough. I then measured the bulbs and quickly realized my letters were going to be a bit too thin. So, I just hand drew lines to size up the letters to meet my needs. To get the letters on the plywood, I use clear contact paper first, spray that with spray adhesive, and then stick the letters down. This makes getting the template off much easier rather than trying to remove it without the contact paper; that spray adhesive is no joke. I did most of the cutting on the bandsaw but moved to the scrollsaw to make the inside cuts on the “A” letters. Next, I laid out the sockets over the letters to try and find the best placement for the bulbs, and then cut out all the holes with a forstner bit on the drill press. A bunch of sanding later, and they were ready for the flashing.
Flashing on the letters and paint

This was the part that almost broke me. I could only find 6” flashing, which was going to be too big, so I cut down many strips down to a 4” width. Then I had to fold them to fit around the letters. I just tried to make a mark with a pencil where a fold was needed, then make the fold with my metal speed square as a straight edge. Then I double-checked my fold around the letter before moving on to the next edge. I used two or three strips per letter, as there’s really no need to worry about having overlaps. Those seemed to help solidify things. I just tried to avoid having an overlap joint on any curved portion of a letter. I started trying to use hot glue along with brad nails, but quickly switched to some super glue instead. And the brad nailer must be set very low or the nails will blow right through the aluminum and be of no use at all. This was eight letters, and it took me several days due to the amount of frustration, re-bending, re-gluing, and re-nailing. All of that led to me having to just walk away many times.
But when they were finally done the painting process was easy. I just spray primed them all, then painted the insides blue. Then I flipped the letters face down and painted the outsides black. Just don’t figure to put some tape over the holes or that spray will seep through and get your insides partially black and you’ll have to do it over again. Not that I did that or anything.
Wiring the lights
The wiring of the lights is not a difficult process, just a tedious one. These lights are really just bulbs attached to a thin extension cord you might have lying around the house. The sockets can be removed with a flat head screwdriver. I made myself a little jig by drilling a hole and using a jigsaw to cut out the hole into a U shape. The shape is large enough for the socket to rest in, but small enough that it won’t be pushed through. So, I can use the screwdriver to press down on the clasps to remove the bottom piece and thus the cord. I took all the sockets off of two strands, giving me 50 sockets that I could then relocate anywhere I needed. In my case, I glued the sockets inside all the holes I had previously drilled in the letters. Then to rewire everything, I simply placed the cord where I wanted it and hammered the end cap back into the socket over the wire; this drives the metal teeth in the socket to puncture back through the cord allowing the lights to work. So not only did it allow me to put the sockets easily into the holes of the sign, but it also allowed me to get rid of a bunch of the excess chord between each socket, and I only needed to use one cord for nearly 50 sockets total, and have plenty of cord leftover to reach an outlet to plug in. Important tip: always test each socket after hammering the caps on, as sometimes the teeth didn’t go through and had to be redone.

The box and ‘basement bar’ lettering
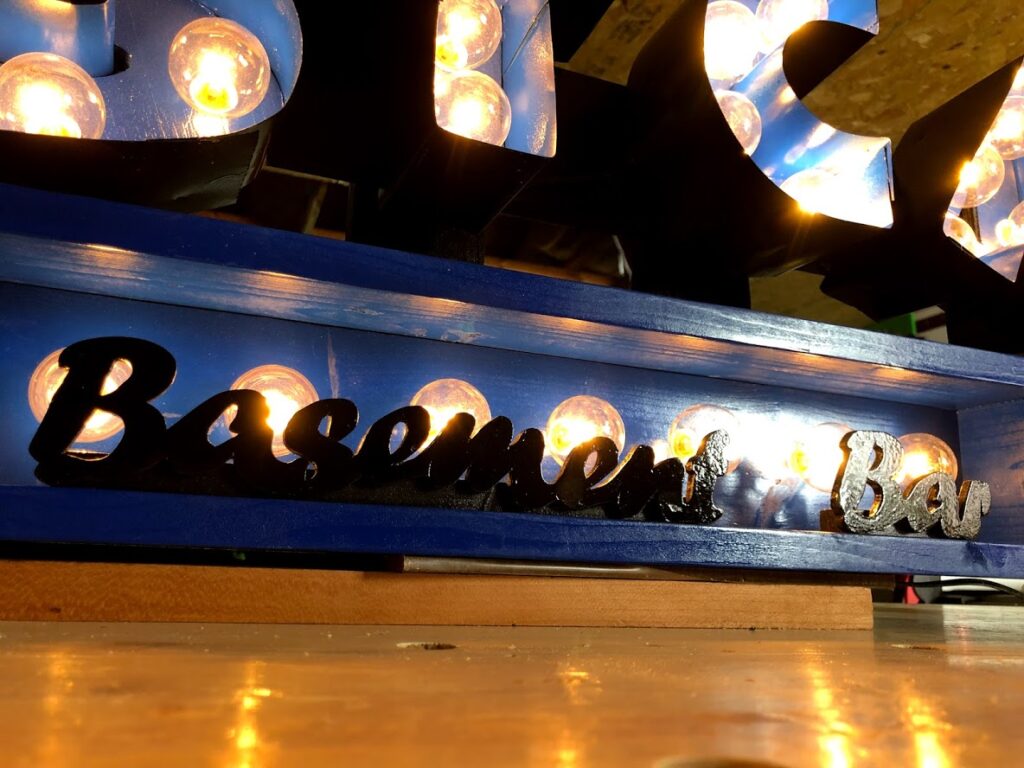
The rectangular box is the same concept as the “Last Call” channel letters, but it’s made from 1×4’s instead of the aluminum flashing. I did the same process of spacing holes, painting, gluing in sockets, and rewiring and testing lights. Then I printed off and scrolled out some cursive lettering for the “Basement Bar” part. I primed and painted them black and then super glued them on to a couple strips of pine I ripped down, painted and glued to the inside of the box.
Attaching the letters together and the box
To attach everything, I cut sections of 1×4 into the shape I wanted. I laid out all the channel letters face down into the curve I wanted, and then marked up the boards with the right angles to cut. I pocket-holed and drilled them together and painted them black. Then I screwed them into the letters. That’s another important step I skipped over before, as way back before I did the flashing, I glued little one-inch blocks on the backs of all the letters to account for this. I screwed through the boards and into those little blocks. I than screwed a couple short pieces into the back of that board and the box to connect it all together. I drilled and screwed in some eyelets into those boards to act as hangers to put it on the wall.
And that was it! Mission accomplished! This project was definitely one of those that you get super excited about early on, but when you get into the minutia of it you reach a point of mild insanity, but then when you reach the finish line you have a great sense of accomplishment and pride. I’m super-pumped with how this thing turned out and can’t wait to see it on my buddy’s wall in his basement. Thanks for reading and watching!
Cheers!
Grant
