So I mentioned offhand to my neighbor a while back that I was looking to do some cutting boards in the future, and within a few days he shows up at my door with some old pieces of walnut from an old table that was probably headed to the dump. I needed some accent pieces, and I found a guy through the Facebook marketplace that runs a small milling business in Des Moines (Tom over at http://milliewoodworks.com/). He gave me a great deal on small pieces of cherry, maple, and ash.
I’ve been wanting to do some cutting boards ever since I bought my DeWalt planer last spring. I follow some great woodworkers on Instagram and have always seen these beautiful looking boards, and I wanted to give it a shot. I wanted to try a couple basic striped designs, but also a couple more complex versions, so I decided to try a checkerboard pattern and a brick pattern.
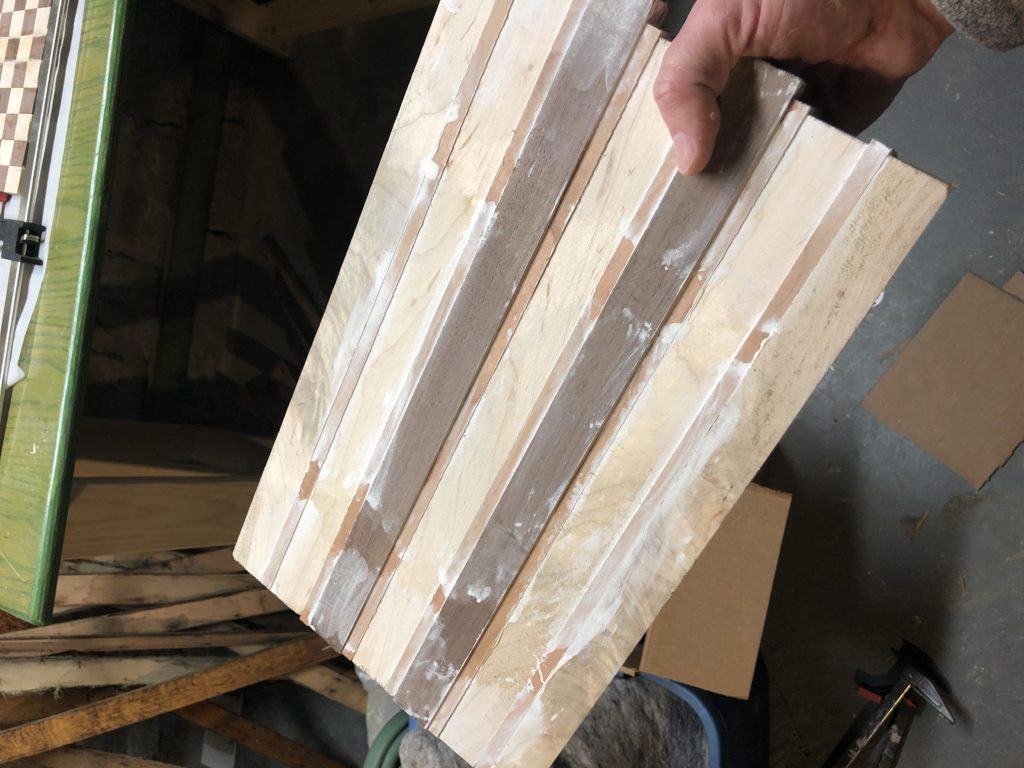
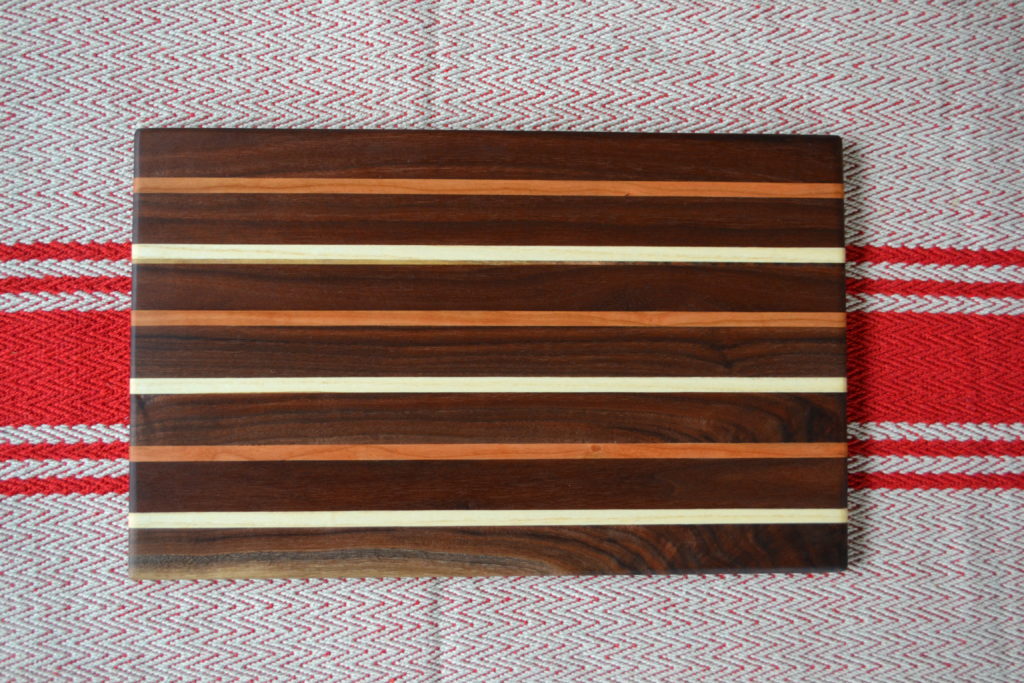
The horizontal stripes were simple. I just cut some wood at 15”, then I made various widths for the strips. I did several 1” strips of the walnut and maple, and then did a bunch of ¼” strips of the maple and cherry. Then I just played around with the patterns until I found a couple I liked and glued them up. Simple enough.
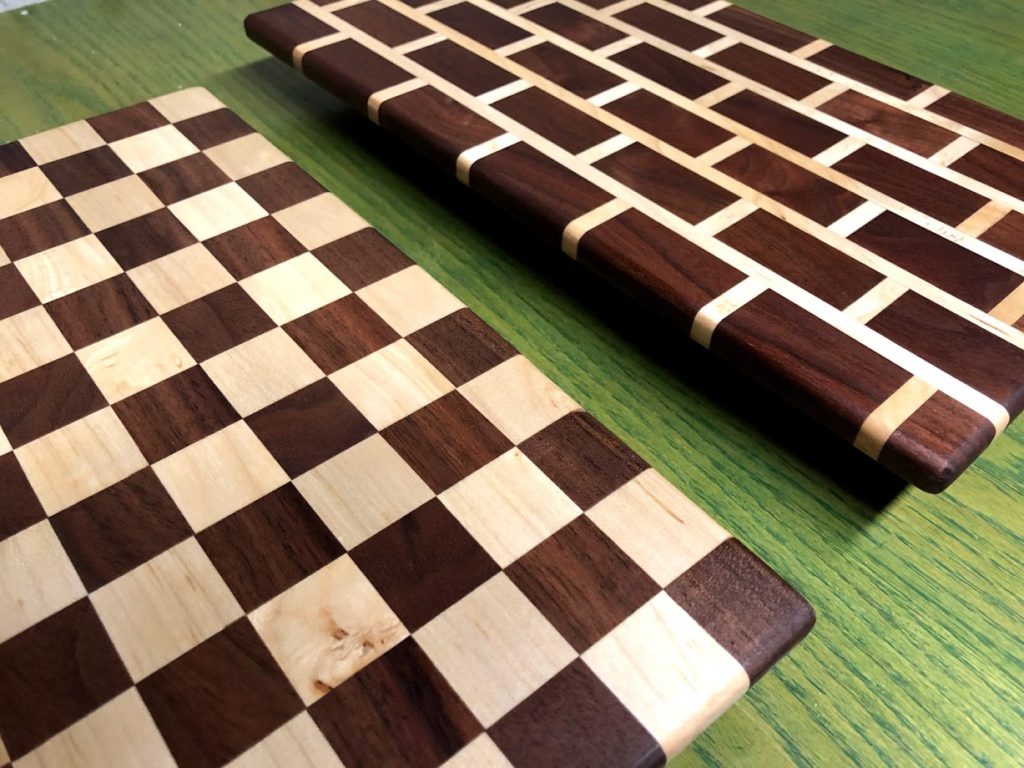
For the checkerboard, it might look complicated but it’s really not. I decided on the size of square I wanted, in this case 1” seemed good. And I wanted to shoot for 12 squares by 10 squares. So, I cut several 13” strips of walnut and maple at 1” thick on the tablesaw. Then I glued them all up alternating wood types. The next day I removed the clamps and then ran it through the planer a few times to even it up. I then went back to the table saw and cut the board into one inch strips going the other direction. As long as you do an even number of squares, your strip should start with a walnut square on one end and finish with a maple square on the other. So it’s as simple as lining up your new strips, and flipping every other one over so that your starting square alternates walnut to maple, walnut to maple, and so on. If your cuts were exact, everything should line up perfectly across the board. I highly recommend getting a digital caliper; mine will measure to the one-hundredth of an inch.
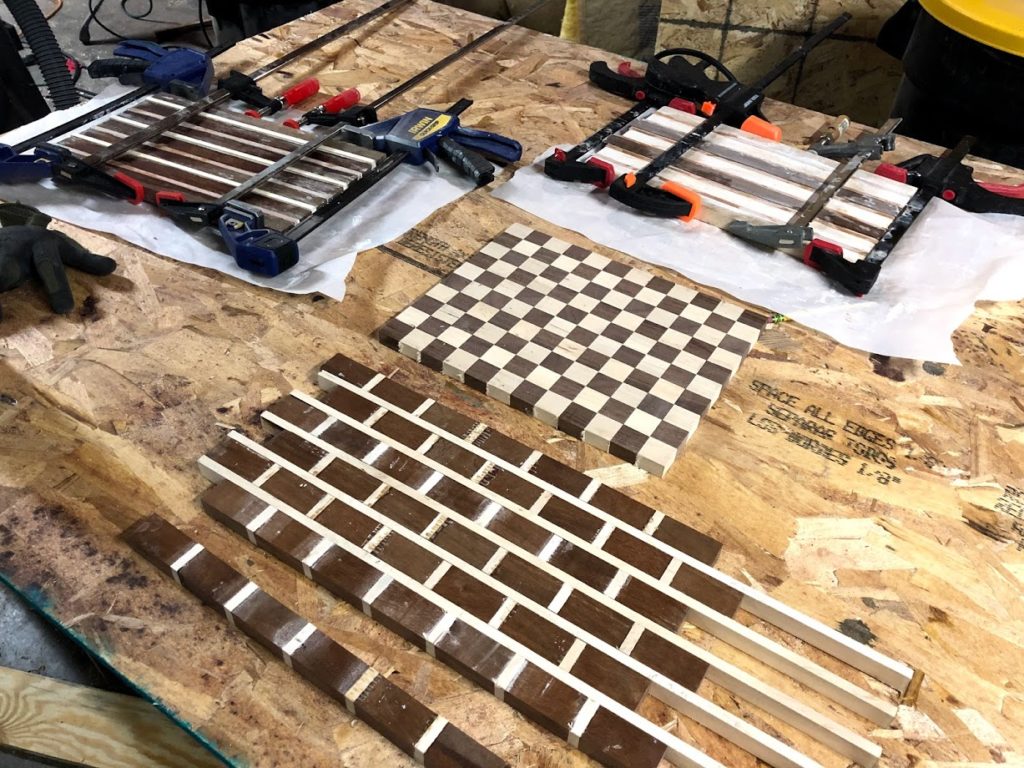
For the brick pattern board, I cut several 10” strips: 2” thick walnut strips alternated by ¼” ash strips and glued them up. I glued up enough so that my board at this point was about 15” long. The next day I cut off the excess on the ends to even them up, then I cut crossways making 1” strips. That left me with 1” thick strips that were 15” long, and that had alternating 2” walnut and ¼” ash pieces. I also cut 15” ¼” ash strips. Then I simply glued up alternating 1” strips with ¼” ash strips, and offset the 1” pieces to give it the brick pattern look. Looks really complicated, but again, this is pretty simple.
Important tip: when gluing up you should try to wipe away as much of the wood glue as possible with a wet paper towel. Sure, the planer will take that all off, but I’m told that since the wood glue dries harder than actual wood, you risk damaging planer blades by leaving excess wood glue on your boards.
Once the glue was set, I used a 1/8” roundover bit on my router table to round out all the edges on each board. Then I sanded. A lot. I sanded down to 220, then wet all the boards down to raise the grain before sanding again. I’m told that prevents the boards from getting all rough after they are washed. I finished with 320 grit sandpaper and then used the air compressor to blow off sawdust. For finishing, I used mineral oil first, and butcher block conditioner second. Man, is it fun to watch these things pop when you add that mineral oil.
Some things I learned along the way…
I need more clamps. And when clamping you really need to even out the pressure from both sides of the board to prevent bowing.
I should have saved some sawdust of each wood grain. I had a few chip-outs on the checkerboard pattern after I ran it through the planer, so it would have been nice to mix a bit of sawdust with some wood glue to try and fill those. But I kept that one anyway, so nobody has to see it but me and the wife.
I’m really happy with these. I think I learned a lot about how I could batch out a large group of these and avoid some of the bowing and chipping problems I had the first time around. And there will be another batch of these coming soon with new designs that I’ll likely put up for sale.
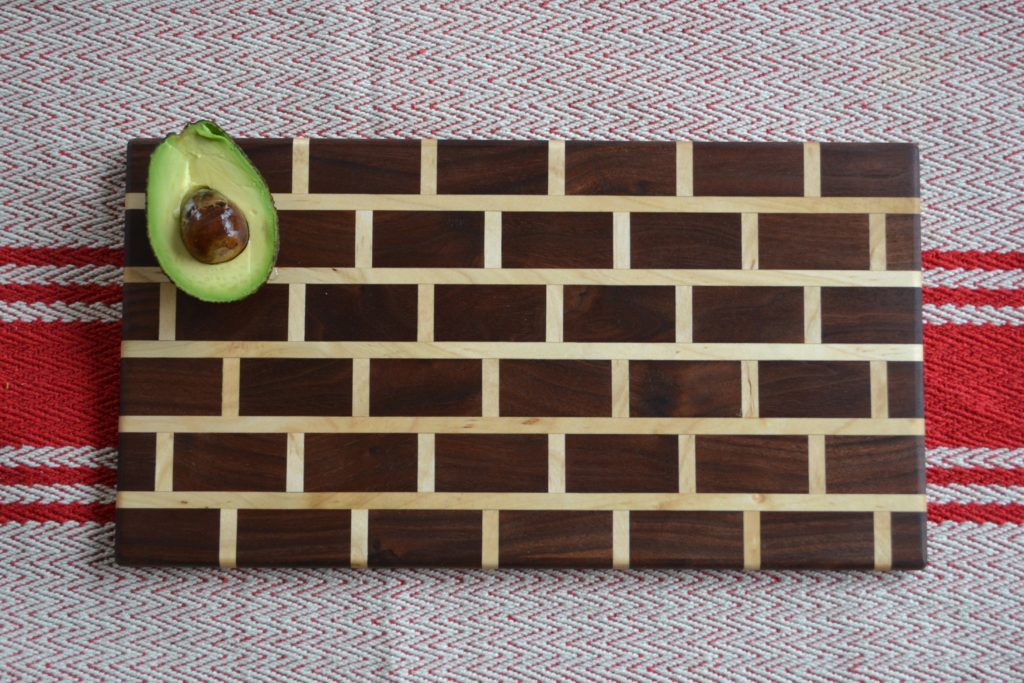
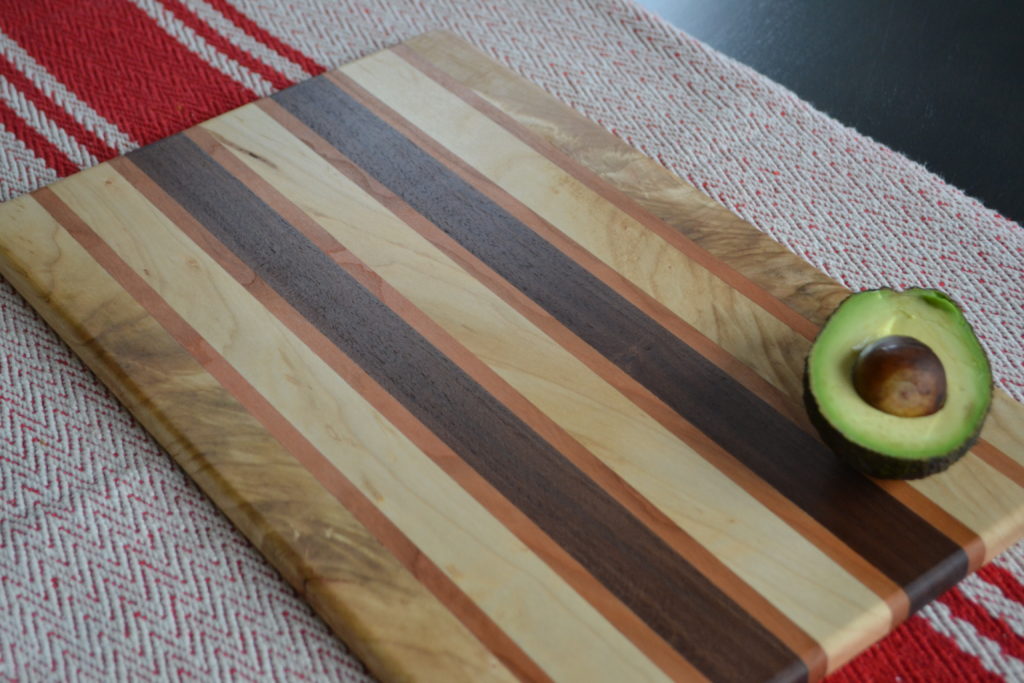
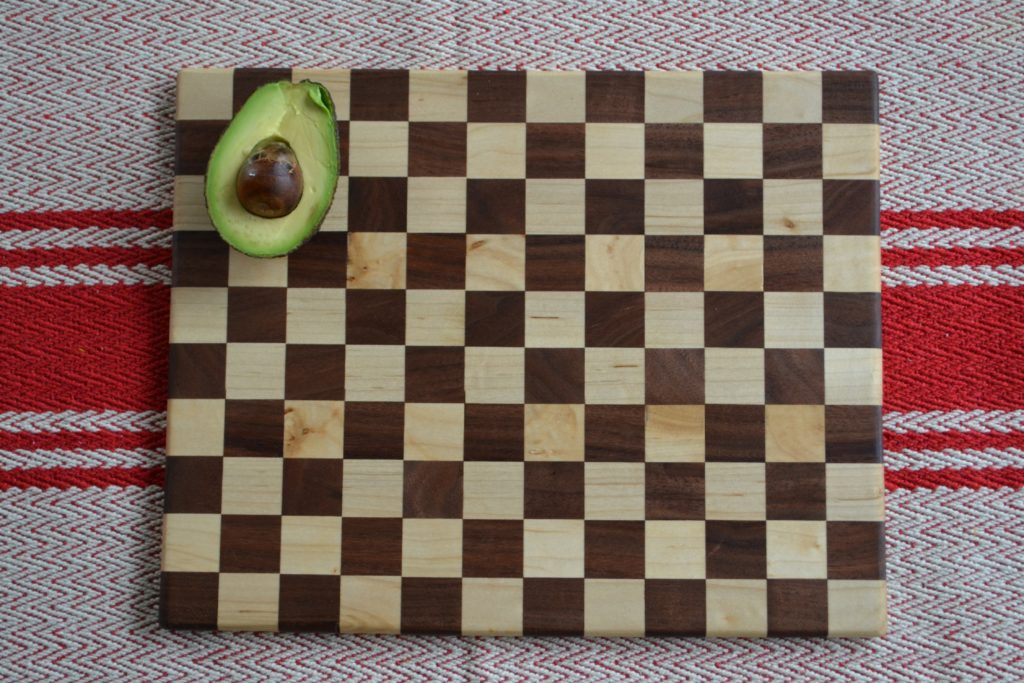
If there’s anything you’ve seen in the video or blog that I could have done differently with this project, please let me know. I appreciate any feedback! Thanks for watching and reading!
Cheers!
Grant