Here’s a simple project that anyone can do to make a transformation of a stairway, whether it be your main staircase or some steps down to a basement. It’s quick, inexpensive, and can make a stairway go from normal to amazing.
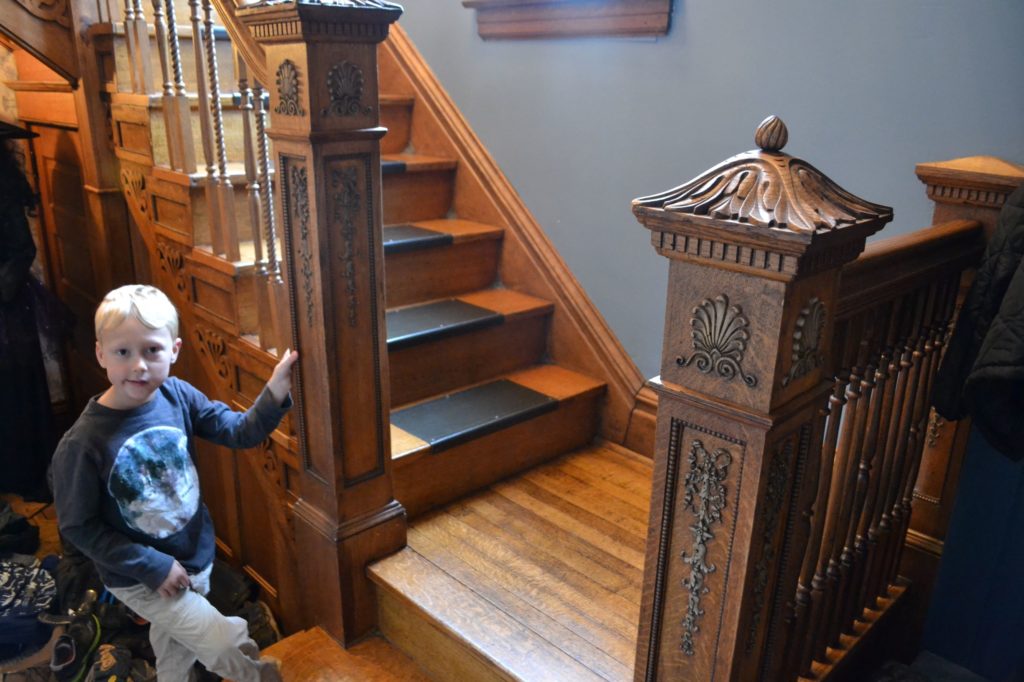
 Ever since we moved into our house, the one thing that Whit has not liked is our stairs. I must say that a big part of the appeal of this house when we bought it was the entryway staircase. My wife and I loved it. It’s gorgeous woodwork galore. But the one thing we didn’t like was the black stair covers that had been installed by previous homeowners. Not only were they not the best things to look at, but could be painful if you weren’t careful! They were installed with these decorative brad nails that if stepped on just right, would leave you with a feeling resembling stepping on a Lego. Not ideal for steps you use multiple times every day. The only real question is, why in the world did we not do this sooner?
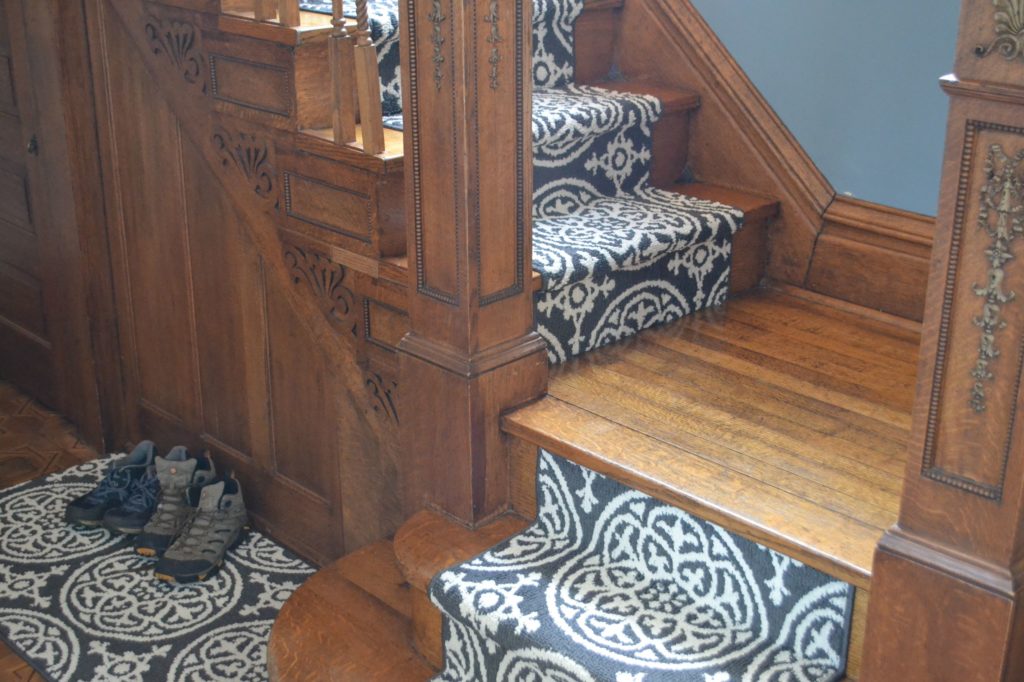
Again, this project is super easy. The runners we bought at Target. I believe they are normally around $35, but we purchased them when they were on sale. And I’m sure you can find more affordable options elsewhere. We just liked the design on these so we went with them. After measuring the steps, we estimated we’d need three, eight-foot runners to get the job done. Unfortunately, all of these runners are sold as seven-footers. So we ended up buying four, but as you’ll see from the pics we ended up with enough spare carpet to lay down a rug for shoes in the entryway.
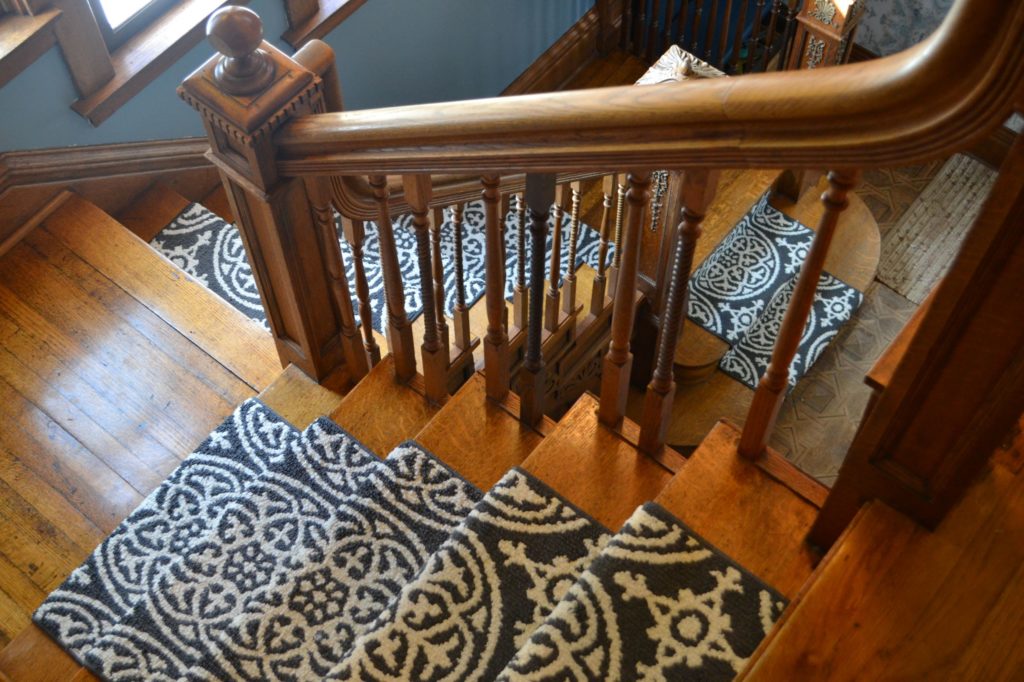
You really only need three tools to complete this project: a stapler, a hammer, and a pair of scissors. For the stapler, we bought an electric Bostich stapler from Lowe’s ($30). Use the hammer to tap in any staples that don’t make it in as far as they should have. The scissors are used to cut the carpet where you need to make your joints. If you buy something without a pattern, joining two sections of carpet should be easy. We chose an ornate pattern, so we had to make sure the pattern connected together correctly at the joints. But if you use as much as you can of a runner, you shouldn’t have to cut off too much at the end, thus when starting a new piece you won’t have to cut off very much to make it line up with the previous piece.
 The process is simple. Just staple an end where you want to start, and then staple at the base of the step, and again at the top of the next step after wrapping around the lip of the step. Pull the carpet as tight as you can without pulling out the staples. And I was more worried about this than I needed to be. The electric stapler is pretty powerful. About four or five steps down I had to pull some staples out to realign things, and it took some serious pulling to remove the staples out. So you really shouldn’t have to worry about pulling too hard while you’re stretching the carpet. Then it’s just repeating all the way down.
The whole project can be done in about two hours. Something you can get done after dinner and be happy with the results by the time you go to bed. We seriously spent more time driving to and from the stores, and shopping for different carpet styles than we did actually putting them in. Hopefully you like the results as much as we do, and are able to do something similar in your home.
