Here is how I made a couple of signs for a goat house and chicken coup. My brother owns an acreage in the country and they recently added a goat house next to their chicken coup, and his wife said she wanted a couple of signs to go on each. I made the base for the signs out of cedar 1×4’s, and the letters and decorative pieces are all pine that I cut out on the bandsaw. This is a really fun and simple project that allowed me some good practice on my bandsaw. Wood glue and some brad nails were all I used to attach things together. And next to no sanding!
The lettering
The lettering is all made from pine. But first I printed off the letters from a font I liked on my computer. I upped the font until I got letters that I figured to be about four inches tall. I then took a pine 1×4 and cut down several 5-inch sections. Then I ripped all those sections lengthwise into two parts, leaving me with blocks that were about 3/8” thick. Since the bandsaw blade can drift a bit, it gave the blocks a bit of a wave, which kind of added to the rustic look in my mind. I covered each block with a piece of adhesive contact paper before using spray adhesive to attach the cut-out paper letters. The contact paper is used here so that the paper templates are easier to pull off and I don’t have gunk to scrape off each piece. Then I did a bunch of bandsaw cutting to shape all the letters. The only letters with inside cuts here were the “O” and the “A” for the “Goats” sign. I could have busted out the scrollsaw, but I find for a sign like this it’s just easier to cut all the way through them and glue them back together. You don’t want to make one cut and then come back out the same cut line, as then your letter will have that gap and wont glue back together evenly. So, cutting it all the way in half gives you two cuts and it will even glue back together and be less noticeable.

The goats and chickens
This is a trick I’ve shown in previous videos, but I’ll run through it here. I took my piece of pine for the chicken and ripped it in half lengthwise on the bandsaw. I took those pieces and put clear adhesive contact paper down on the face of each. I then used spray adhesive and stuck them back tougher. Then I put the contact paper on the top and spray adhered the actual chicken drawing. The drawing I printed from Google images. Cut out the chicken on the bandsaw, and then pull the two pieces apart and voila, you’ve got two chickens that are exact mirror images of each other. Repeat for the goats and I was all done.
I also added a few thin strips of pine just as extra decoration to go around the outside of each sine. I just used some scrap pine I had laying around and made some 3/8” strips of various lengths.
With all lettering and decorative pieces done, I primed them all with black spray primer. Once the primer was dry, I used flat black spray paint. Be careful with whatever you spray paint and read the directions! If you wait too long to do extra coats it can cause the new layer to basically eat away at the bottom layer and you end up with a bunch of cracks on your piece. If you don’t do it right away, you basically have to wait two days.
The sign base/backer
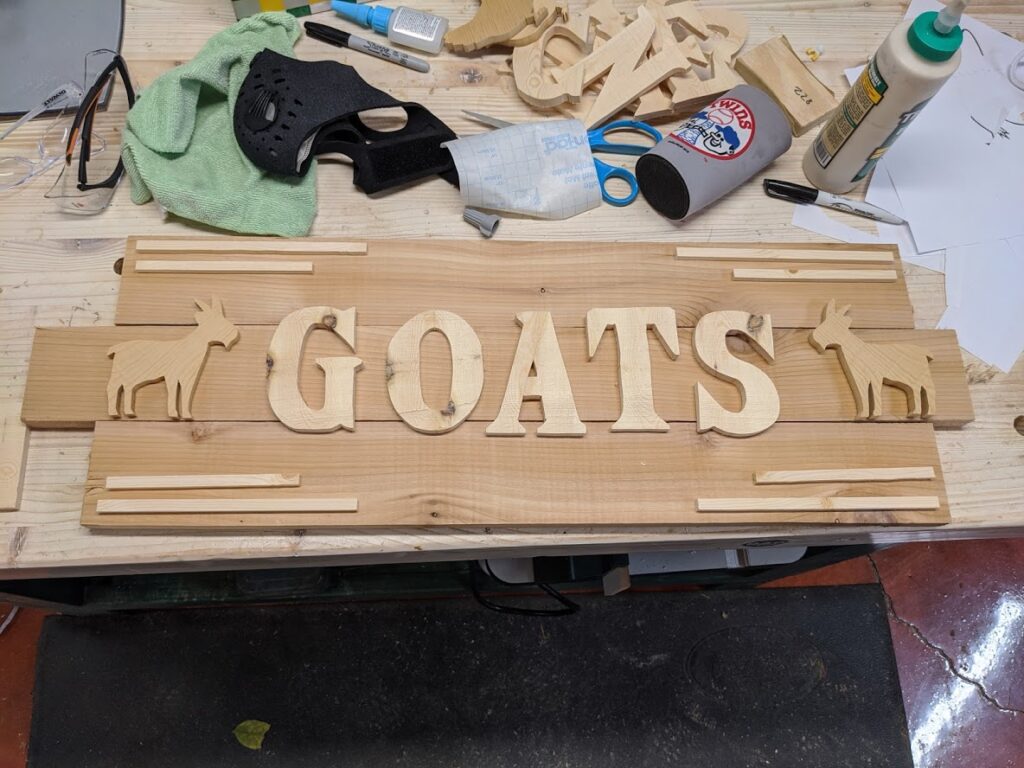
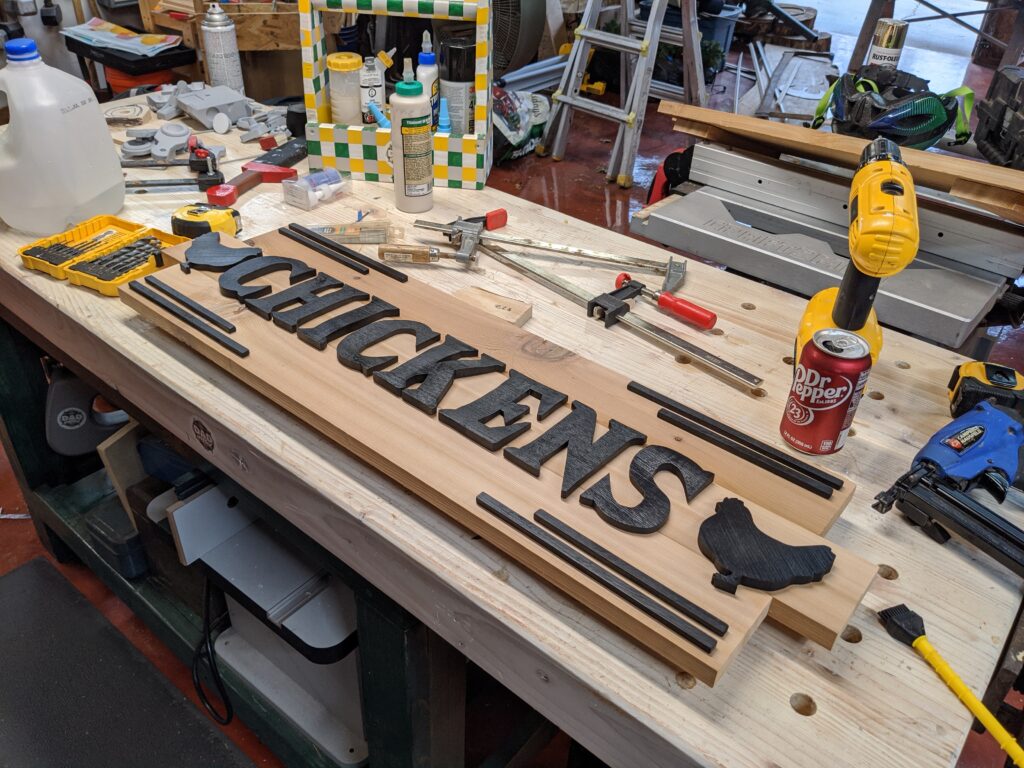
The backer for the sign is made from cedar 1×4’s. Each sign is made of 3 boards that I wood glued together. The “Chickens” sign is a bit larger since there are more letters, and it was 36” for the center board, and the bottom and top boards were 32”. The “Goats” sign was cut to 32” and 28”. Once the glue was dry, I did end up ripping down a couple 8” cedar boards to screw into the back across all three boards. I don’t think this was truly needed, as I trust Tightbond III, but since these are outdoor signs you never can be too careful. I added a couple French cleats made from scrap wood to hang them.

To attach all the pieces, I layed out all the letters and pieces on the backer where I wanted them, and then I wood-glued them all down. I used Tightbond III, and for the letters and animals I decided to use some 5/8” brad nails. I only broke one letter, which I did by nailing too close to the edge. But a little wood glue and you never will see where it happened. Since the lined pieces were so thin, I decided against brad nails and just used the glue. We’ll see how well they hold up against mother nature.
For finish, I sprayed it all down with satin polyurethane. I probably could have gone with a Thompson’s water seal or something, but that stuff takes so long to dry. Let’s face it, for an outdoor sign you’re going to be fighting mother nature no matter what, and if you want it to look as new as possible, you’re probably going to have to refinish it every year. The sun and the rain will beat down anything you leave outside no matter what kind of finish you put on it. These have a rustic look to them anyway, so a bit of wear will add to the charm.
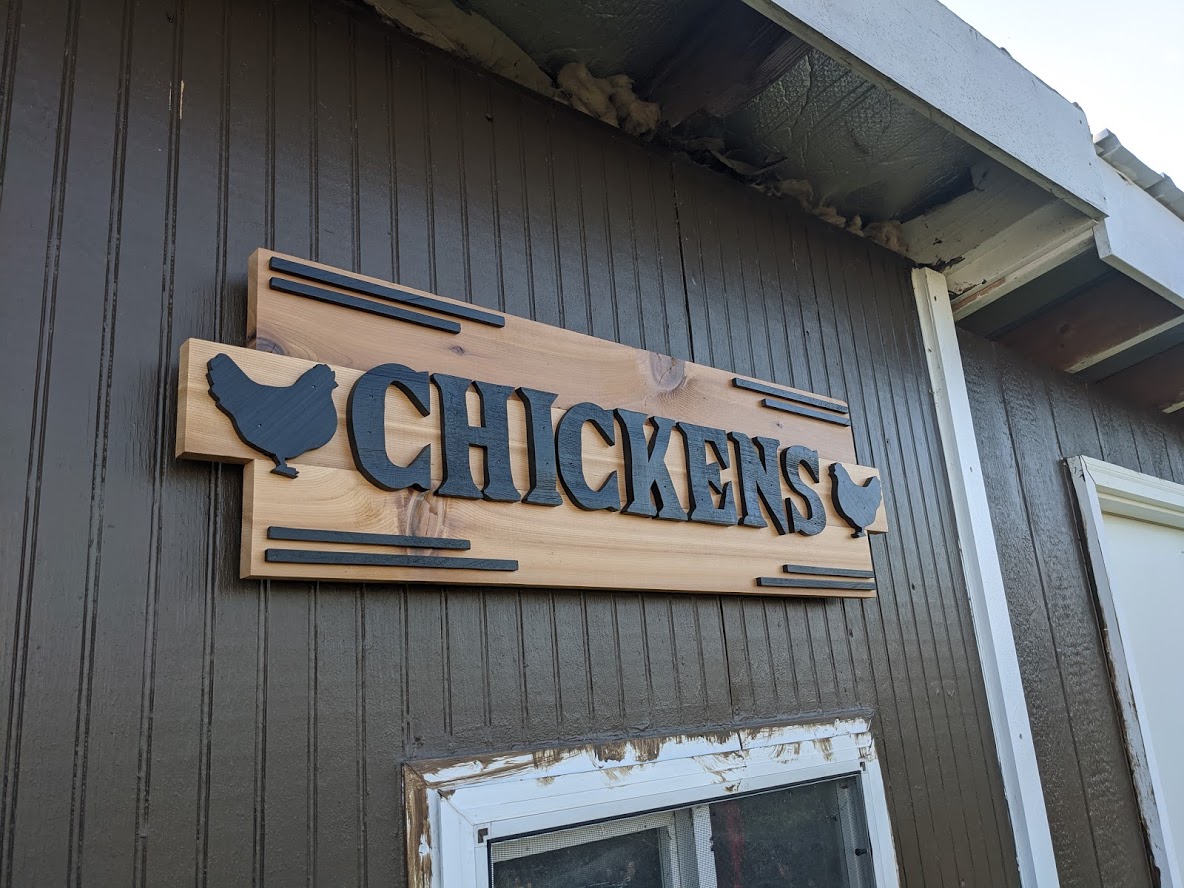
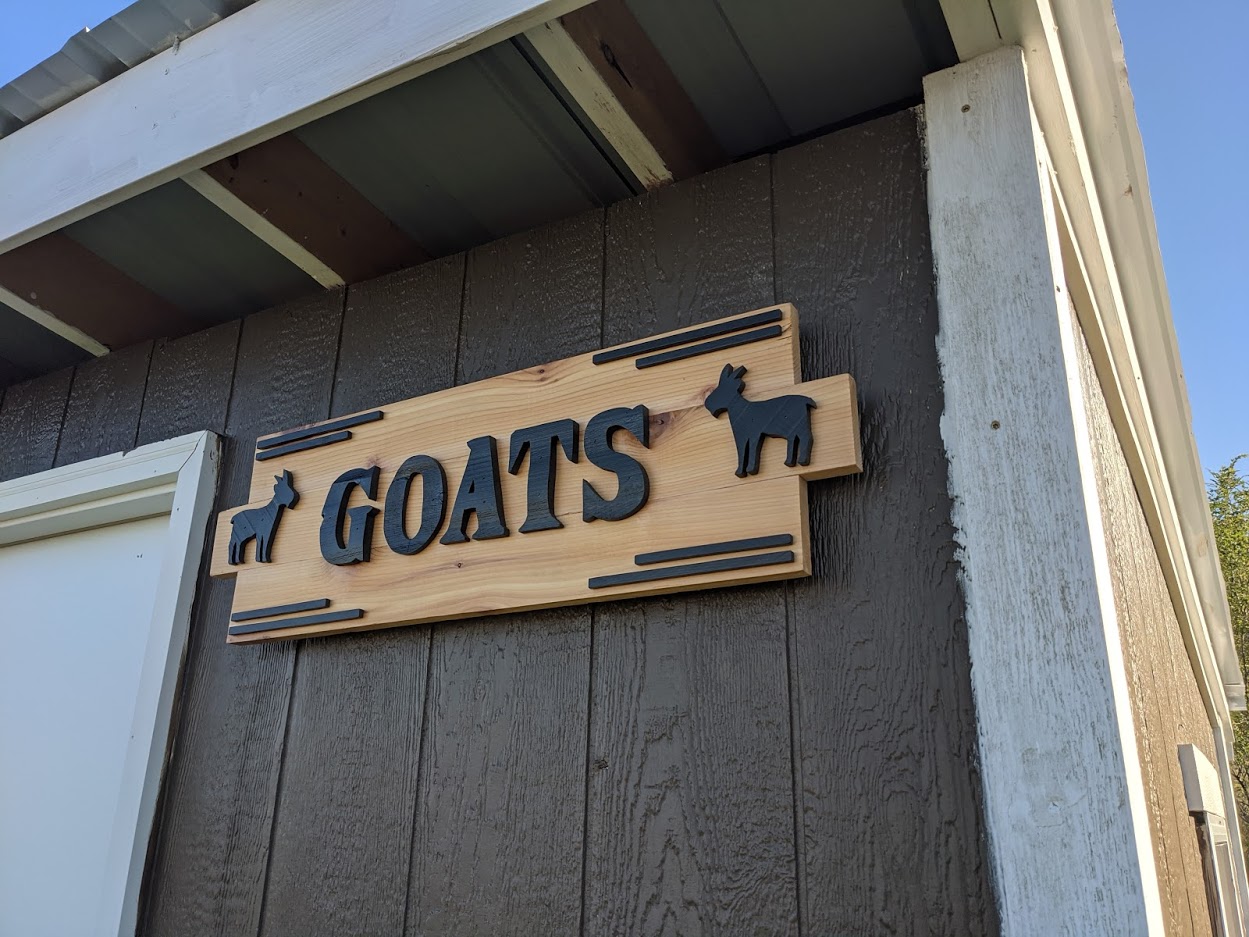
I’m very happy with how these turned out, and luckily my sister in law is as well. We’ve got them hanging on the goat house and chicken coup, and hopefully they’ll last for years to come!
Thanks for watching and reading!
Cheers!
Grant

