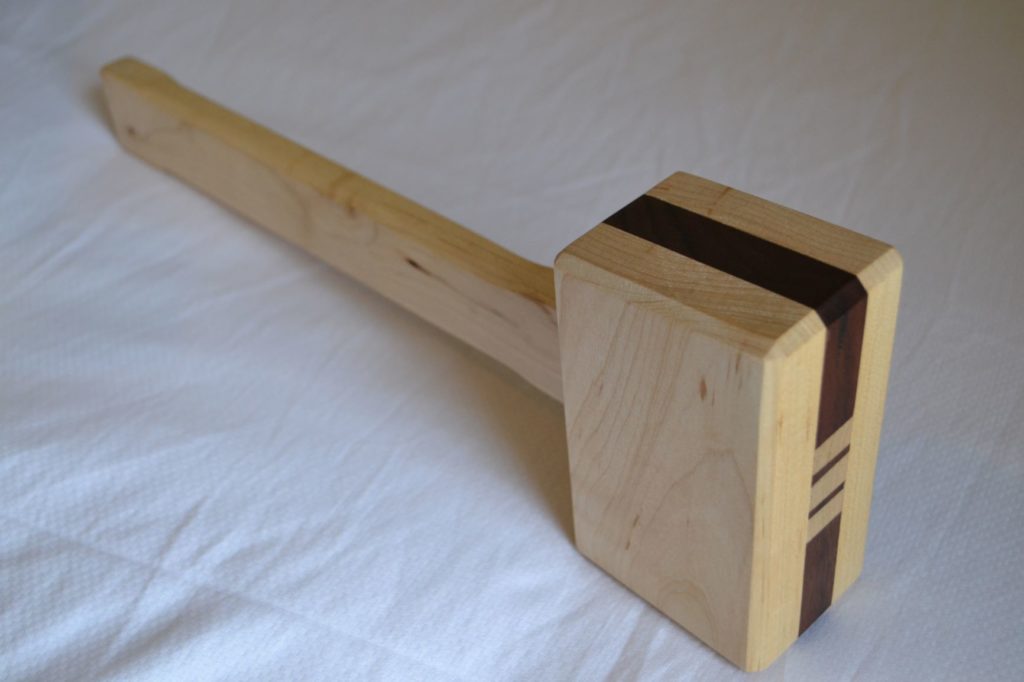
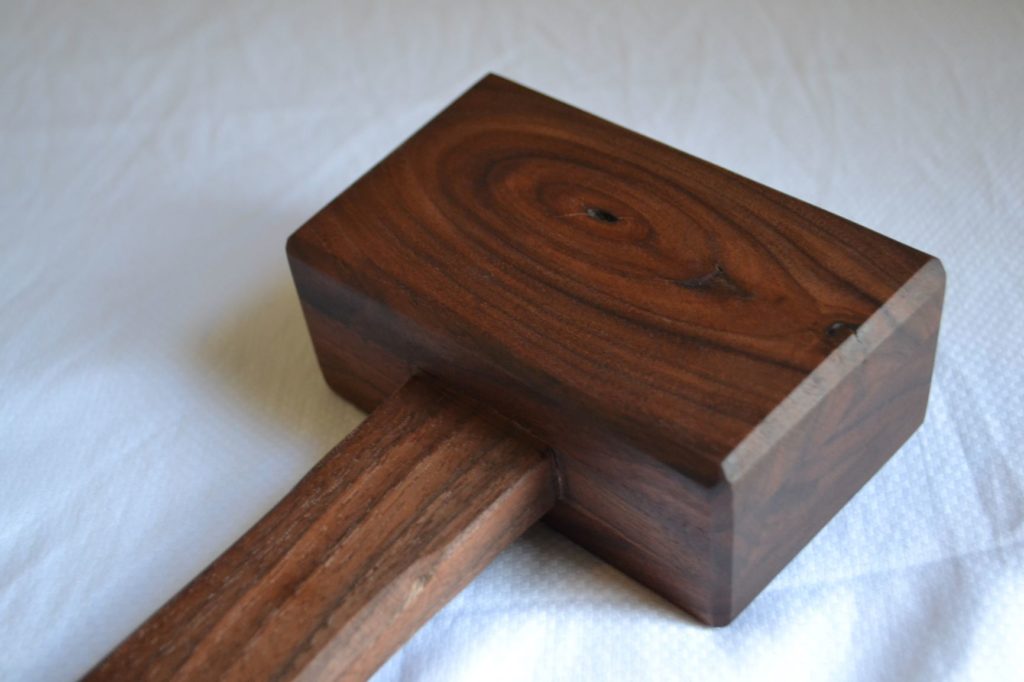
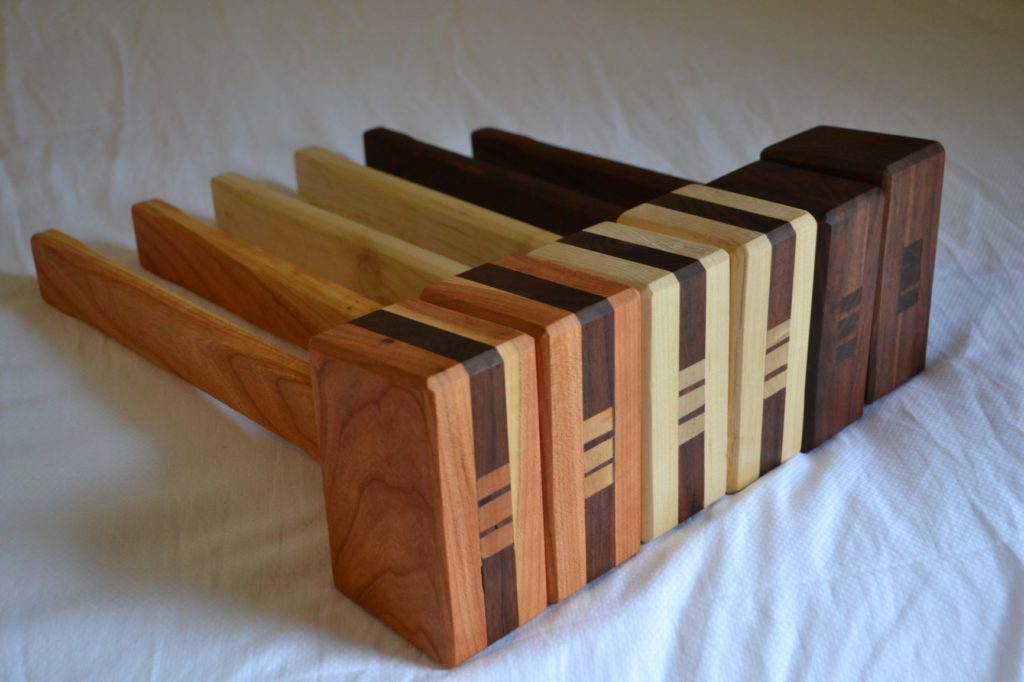
I follow a lot of woodworkers on Instagram, and one of the cooler projects I have wanted to try for a while is to build a set of woodworking mallets. There are some really talented woodworkers out there making some gorgeous mallets. I am not one of those people. But they definitely inspired me to give it a try, and for that I’m thankful for them showing off their work. I’m also thankful for my neighbor who gave me a bunch of free walnut he got from an old table that was going to end up in the dump. The rest of the wood (maple and cherry) I got from Tom over at http://milliewoodworks.com/ so check him out if you’re looking to do a project like this.

This was my first attempt at making these things, and I ended up making 7 in my first run. This project was a lot of fun because I got to use so many different tools in my arsenal. I used my planer to plane down the wood. I used the miter saw to chop down to size, and later to even up the tops/bottoms of the heads and to cut 3-degree angled sides. I used the bandsaw to cut the tenons. I used the table saw on the handles and for cutting the mortises. And I used the router table to cut chamfers on the heads and handles. And, of course, I sanded. A lot.
As part of this build I made a new jig for cutting the mortises in the mallet handles. You can see how I did that in the above video, but this will certainly help me out for making future batches. I could sure use a better method for cutting my tenons. I did some quick cuts of scraps with the bandsaw. But if you look really close at the images you can see little gaps and some of the spacing being not quite right. So I need to make sure my tenons are all the same size and the grain is facing the same way.
What’s not included in the video is the one I totally botched. I tried doing one mallet first before finishing a bunch, and with the first one I decided to drill some holes in the center pieces of the heads to add bb’s and wood glue to give it a bit of extra weight. But when I did the 3-degree cut on the side of the head I cut too close and went right through the bb’s (and it scared the crap out of me; don’t do that!). After that, I rethought things and decided not to add the extra weight for this first batch. I knew it would save me time, and I just wanted to see how hefty they would be without the additional weight (they’re fine!).
Another thing I’d like to do in the future is make some kind of a glue-up jig so that things are placed in the perfect spot in order to clamp. It doesn’t really come through in the video, but I was struggling to get these lined up and clamped together.

The dimensions are as follows…
Heads: 3” tall x 5” wide (at the top of the mallet head; there is a 3-degree angle cut on each side of the head) x 2.25” deep
Handles: 14” original cuts, and after assembly they are approximately 10.75” from bottom of handle to bottom of mallet head
I finished the mallets by sanding down to 320, and then I used Danish Oil. I just wiped it on with a cloth and let it dry. Man, does that stuff make the walnut pop!
Overall, I am very happy with the way these things turned out. I think the feel and heft are perfect, and I won’t be apt to add extra weight to future batches because I don’t think it’s needed. And I will certainly be building future batches. I’ve already got a running list of design ideas to pretty them up and really make them my own. And I learned some on what not to do and how I can fix imperfections in the future.
As always, if you’re interested in one or have any feedback on how I could have done things differently I’d love to hear it. Thanks for reading and checking out the video!
Cheers,
Grant
