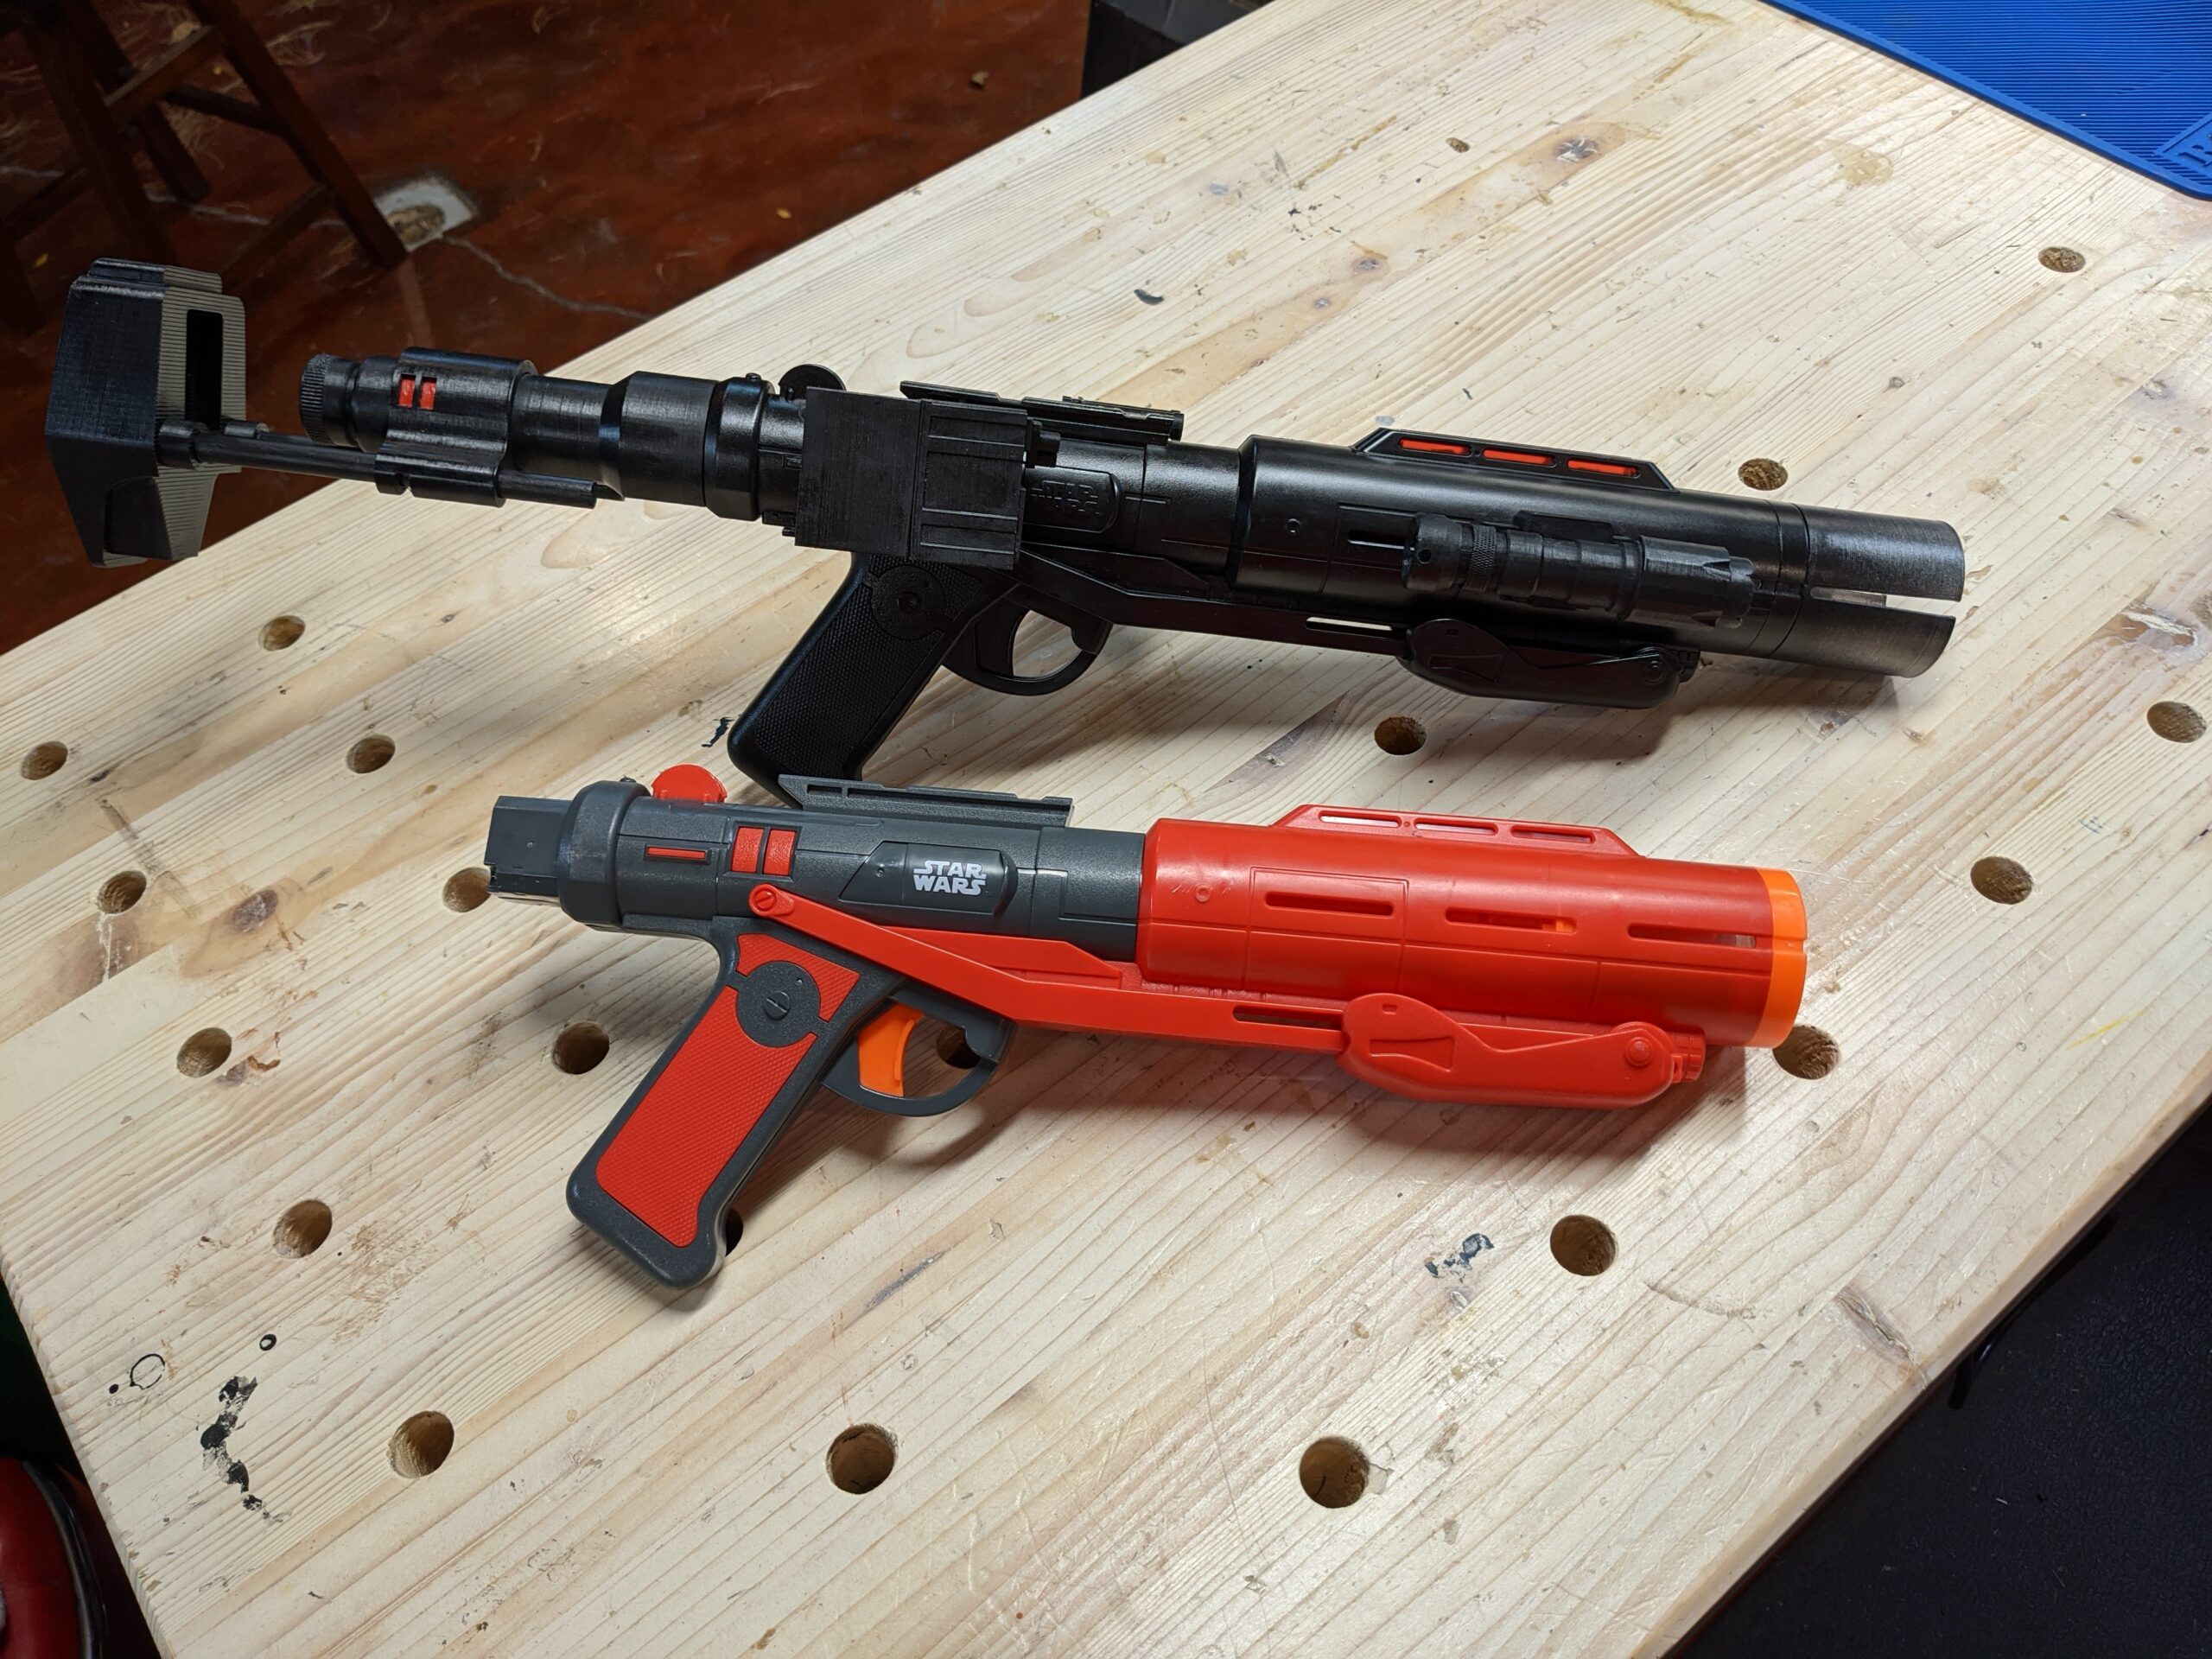
This is how I upgraded the old Rogue One Nerf Death Trooper Blaster to look like the real deal blaster from the movie and from The Mandalorian. Nerf released this blaster yet again and slapped some new Mandalorian packaging on it. Well, we found that unacceptable, so we upgraded it with 3D printed parts and a fresh paint job. Now we have a blaster made for Death Troopers that don’t actually miss their targets!
First off was a bunch of 3D printing. I have an Ender 3, which is pretty much the cheapest printer on the market, but it works great for projects like this. If you don’t have one, you should totally get one, and you can use my affiliate link here: Ender 3 3D Printer
There’s a popular version on Thingiverse, but I found that not all of the parts fit correctly on that one. The clip is too small, and the stock doesn’t properly fit over the back of the blaster.

So here’s the correct version to use with all the sizing done correctly:
https://www.thingiverse.com/thing:3523195/files
You certainly don’t have to disassemble the gun if you don’t want to, but I find that it’s better this way so that all the parts get painted evenly and nothing gets gummed up. The side clip also has to be unscrewed from the inside, so if you want to upgrade the clip you’ll need to fully disassemble. The screws are Philips-head screws and they are tiny, so be careful not to strip them out. I had to push down hard on my mini-screwdriver and then use my pliers to twist the screwdriver to get them to move. Also, there are two different sized screws, so I made a diagram of the gun and marked where each sized screw belonged. And the second you get the blaster apart, stop and take a photo before any of the parts can move! That will be invaluable in getting it back together and making sure it will still fire correctly. I chose not to undo any of the wiring, so I just carefully used painter’s tape around the inner parts that I didn’t want paint on.

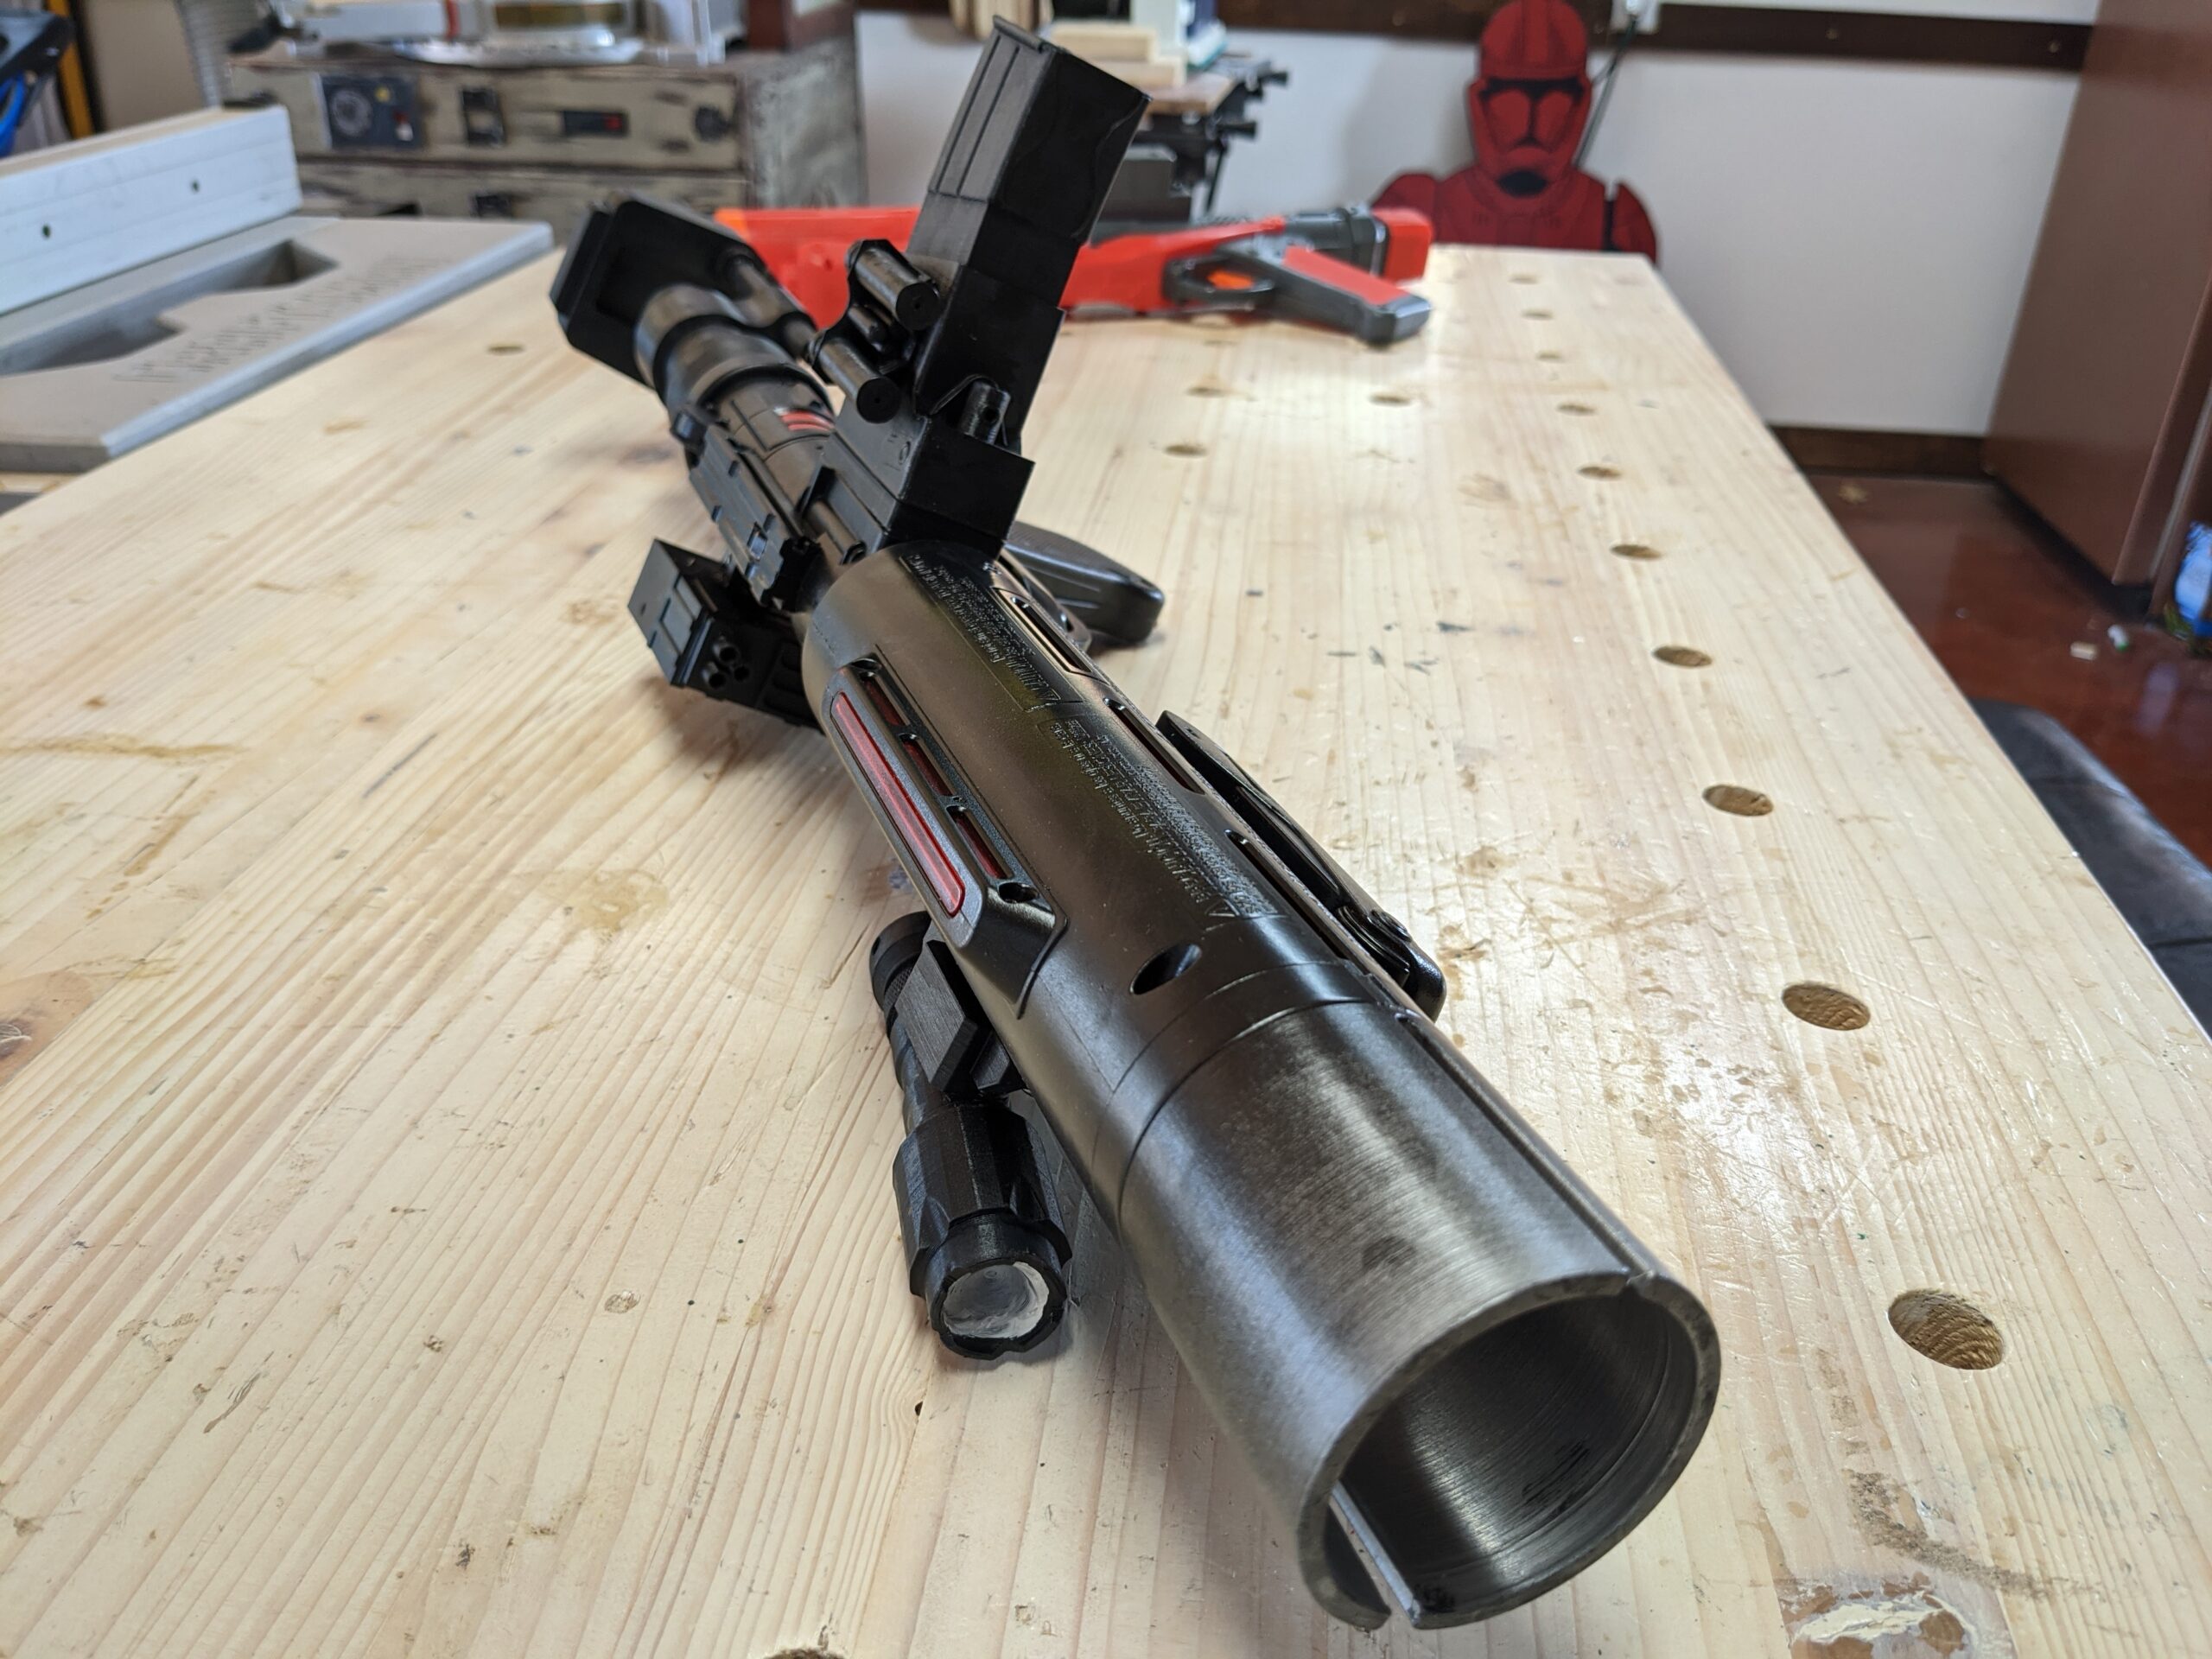
I reassembled the gun and then started gluing on the 3D printed parts. I used DAP Rapid Fuse glue, which is great since it sets so fast. But I also had some failures once the boys started messing with the blaster, so I would recommend epoxy. I would recommend the JB Weld Black epoxy since it matches the paint of the gun. For the stock, I used a 3/8″ dowel that I cut into two 6″ pieces. These fit perfectly into the stock and the holes in the slide that attaches to the back of the blaster.
I used black spray primer for everything, two coats. I didn’t do any sanding, but you certainly could if you want. Once primed, I did a light coat of gray acrylic, and I really just did a weathering technique to brush on a small amount and then quickly wipe it with a paper towel. Then I did the same thing again with black acrylic. This helps to give it that black steel type of finish.
For finishing I used semi-gloss polyurethane. You could brush it on, but I find it way easier to spend the few extra dollars for a spray can. It’s so much easier to work with on smaller projects like this, and it dries much faster.
And that’s pretty much it! New and improved Death Trooper Blaster that is worthy of any die hard Star Wars fan! If you give this a shot, we’d love to hear about it in the comments of the YouTube video linked above! And please consider subscribing to the channel!
Thanks for reading and watching!
Cheers!
Grant